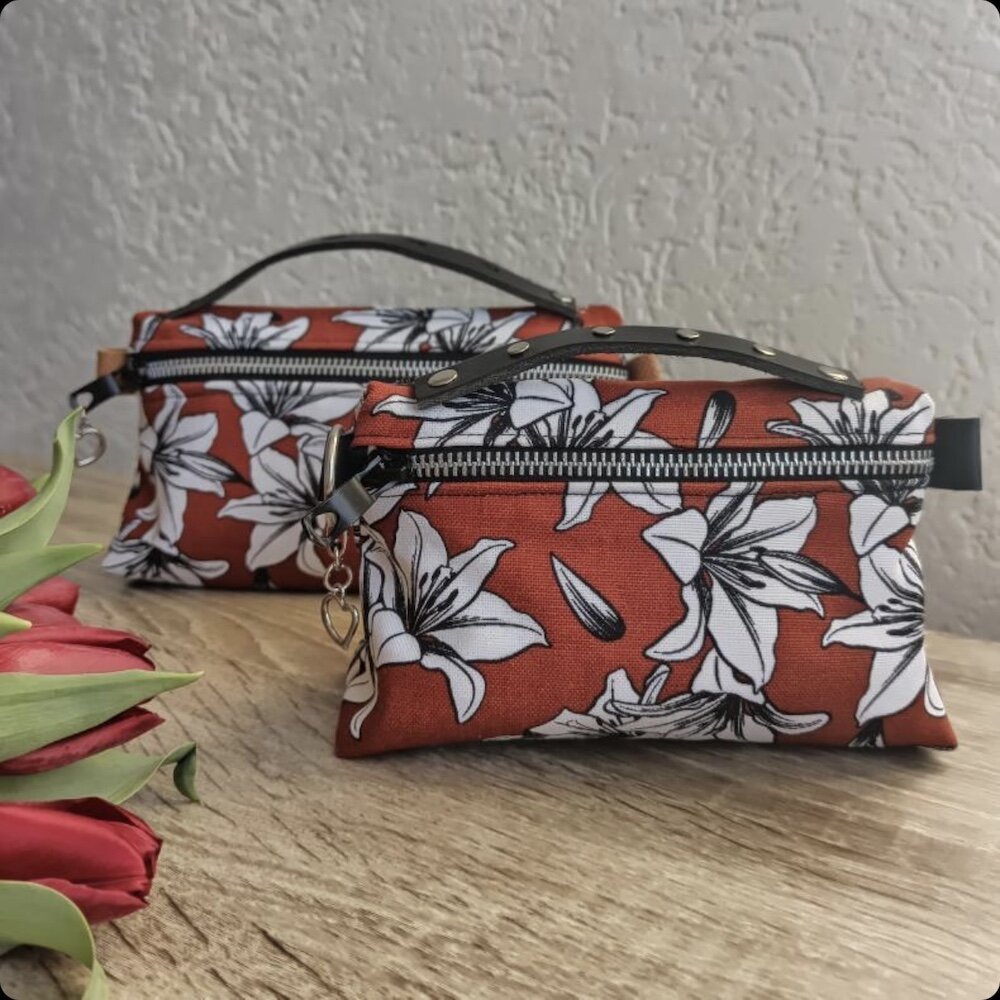
Oslo Pouch Pattern with tutorial and templates - 4 sizes.
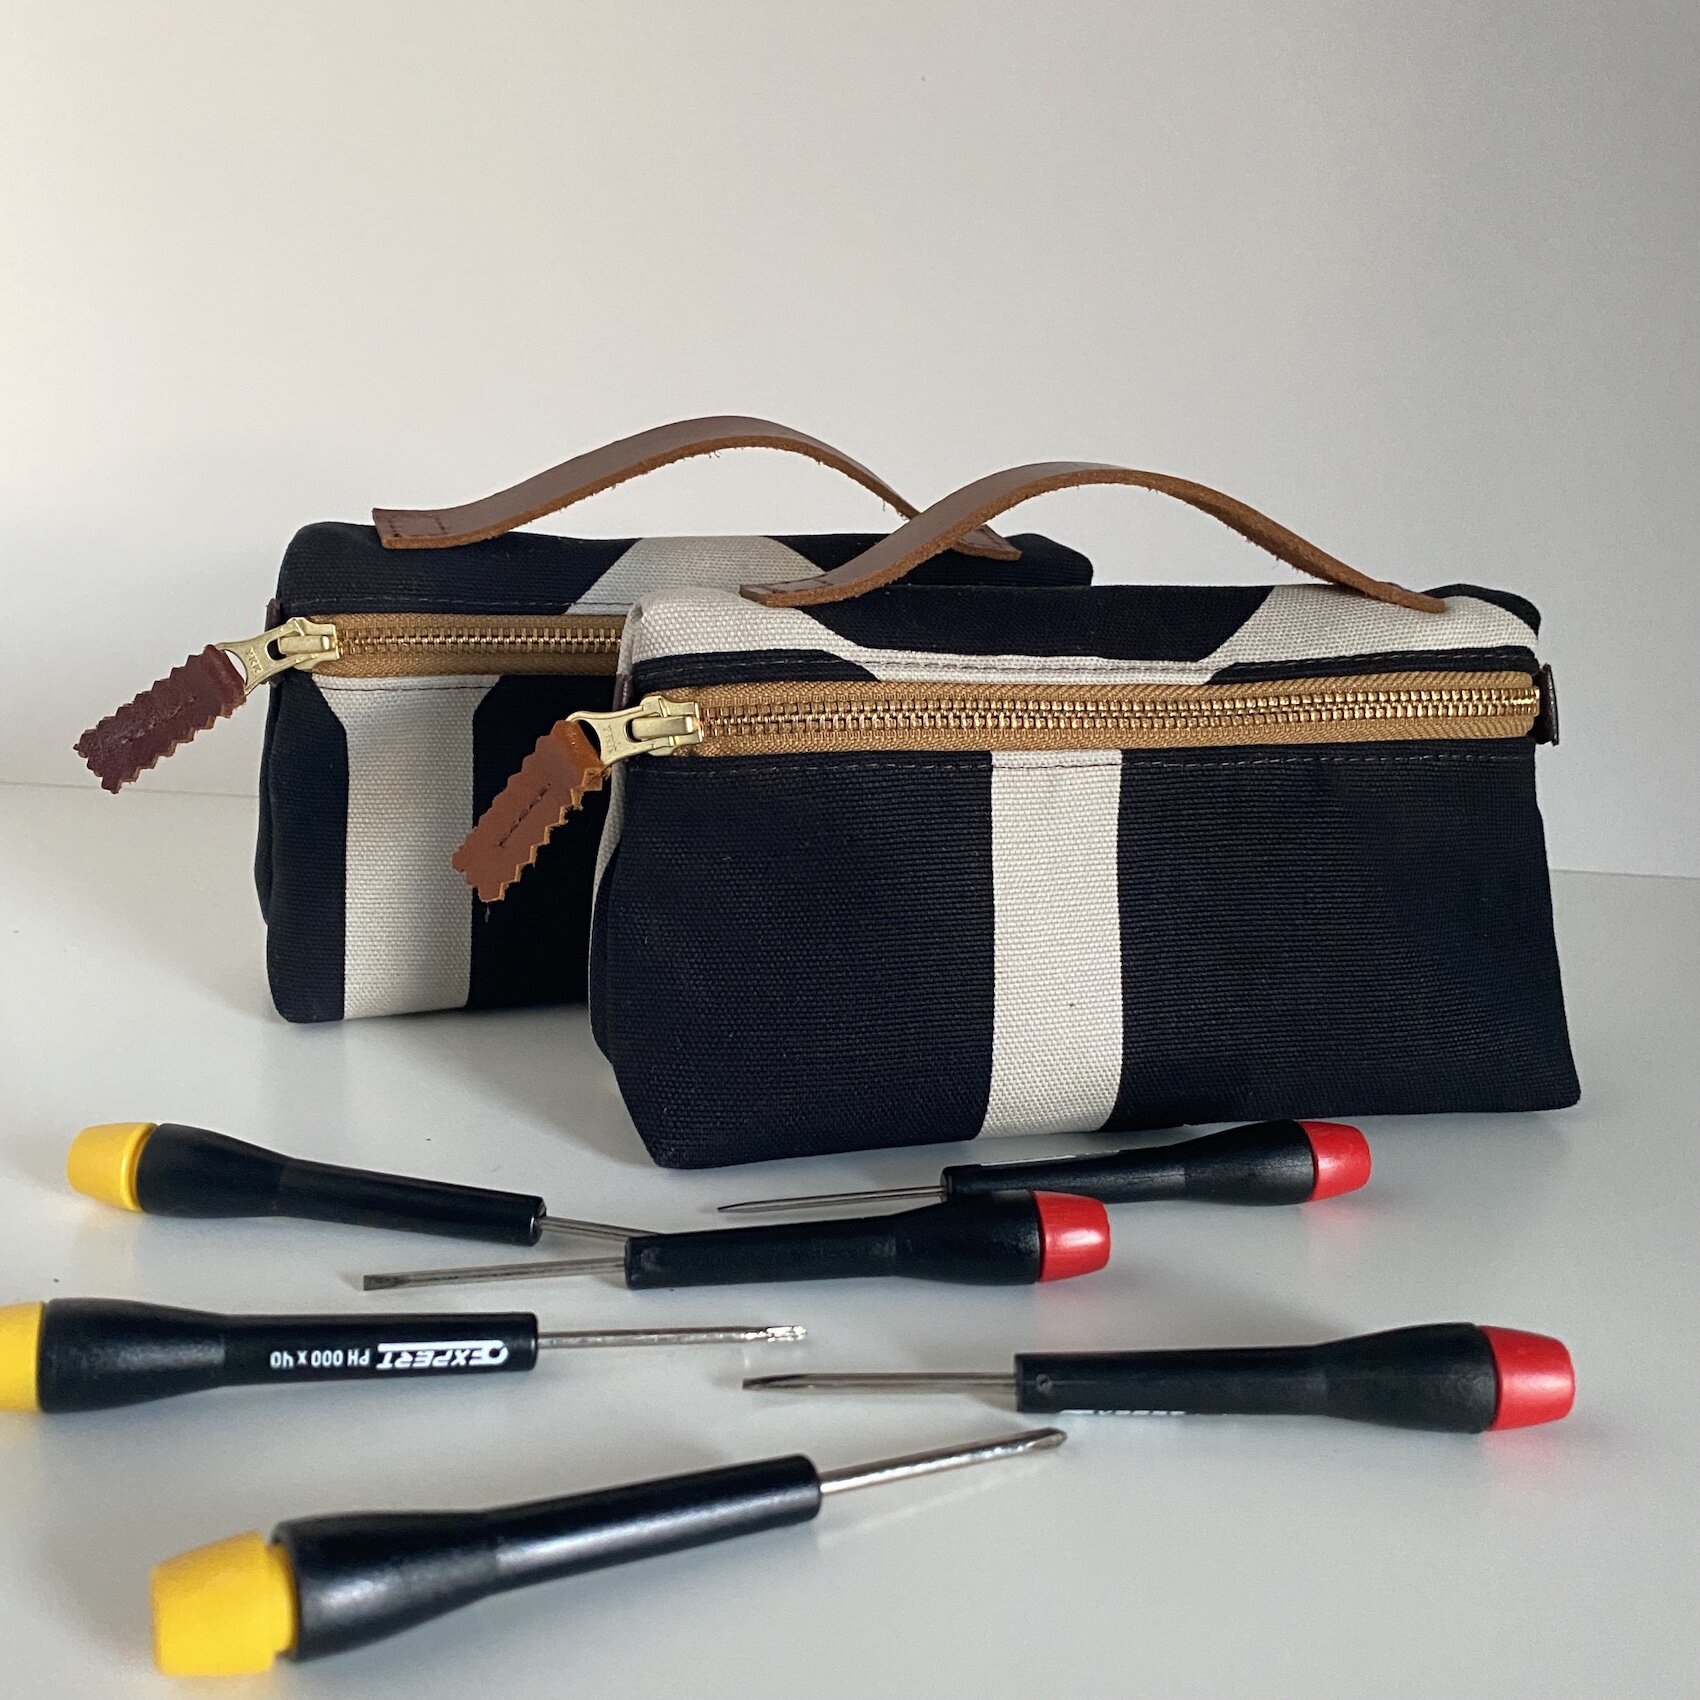
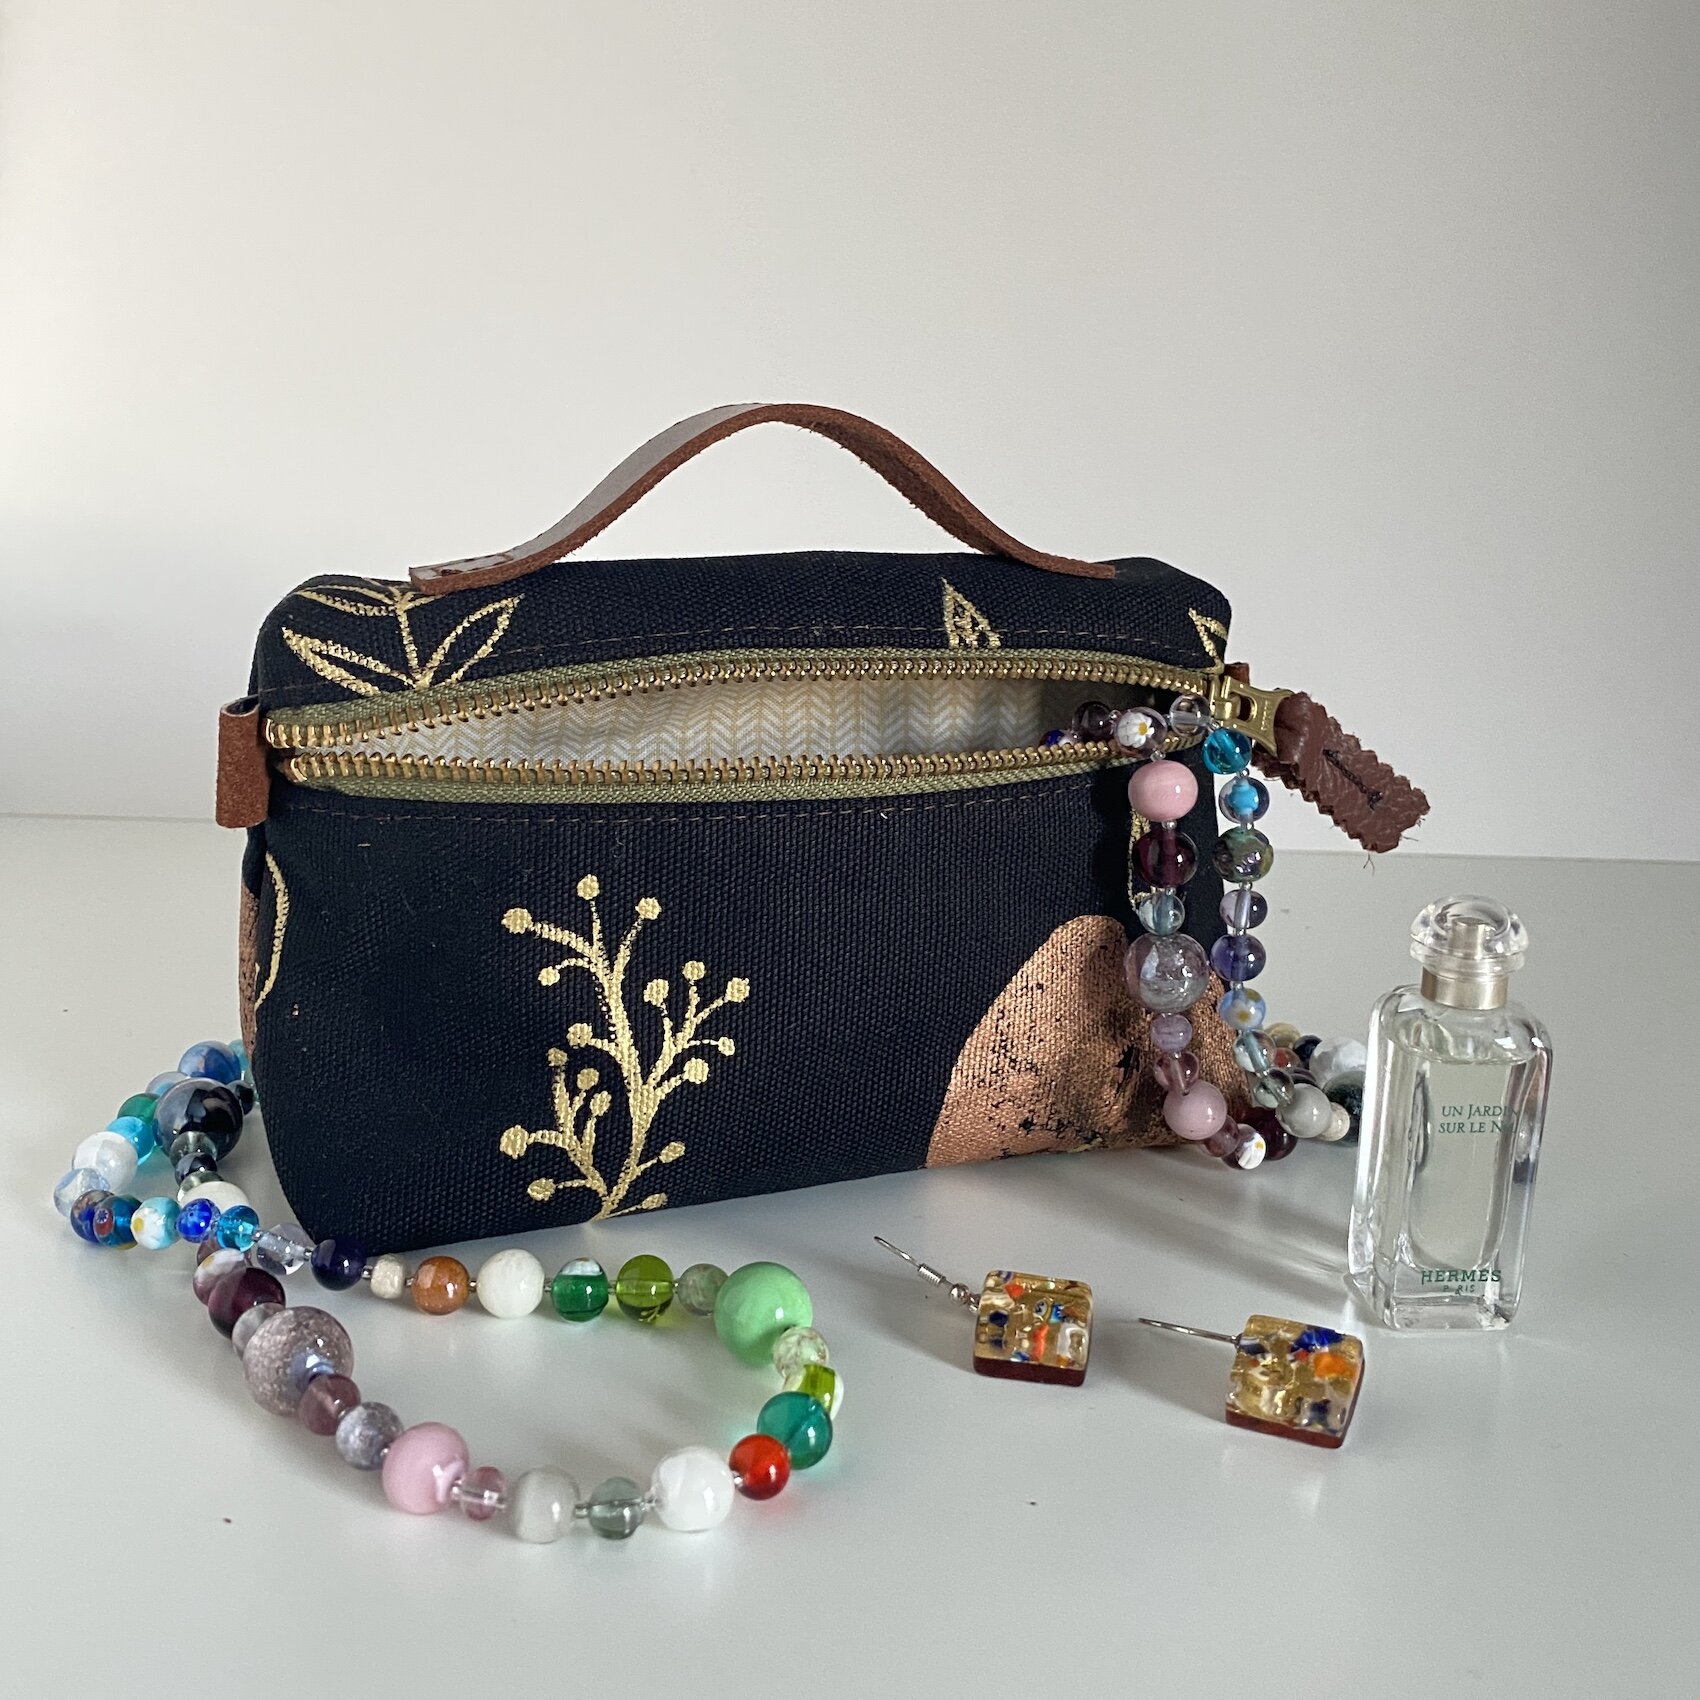
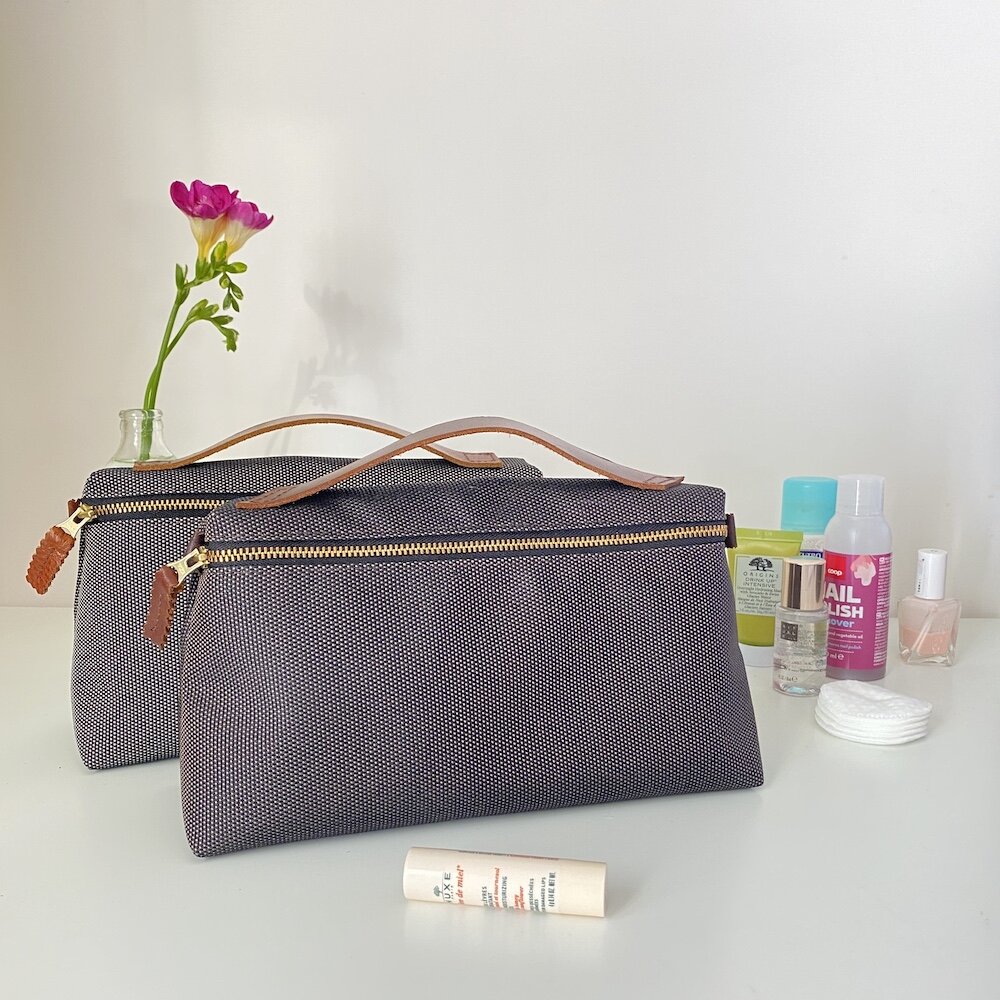
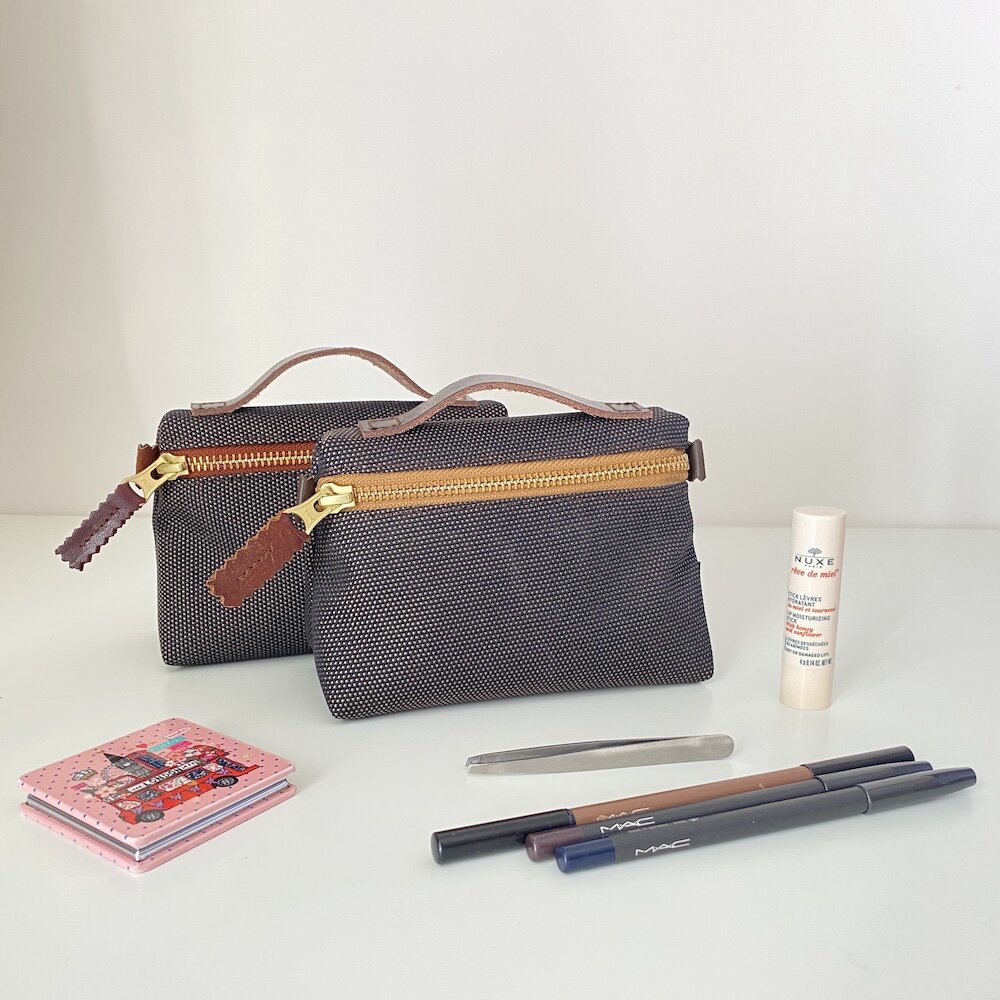
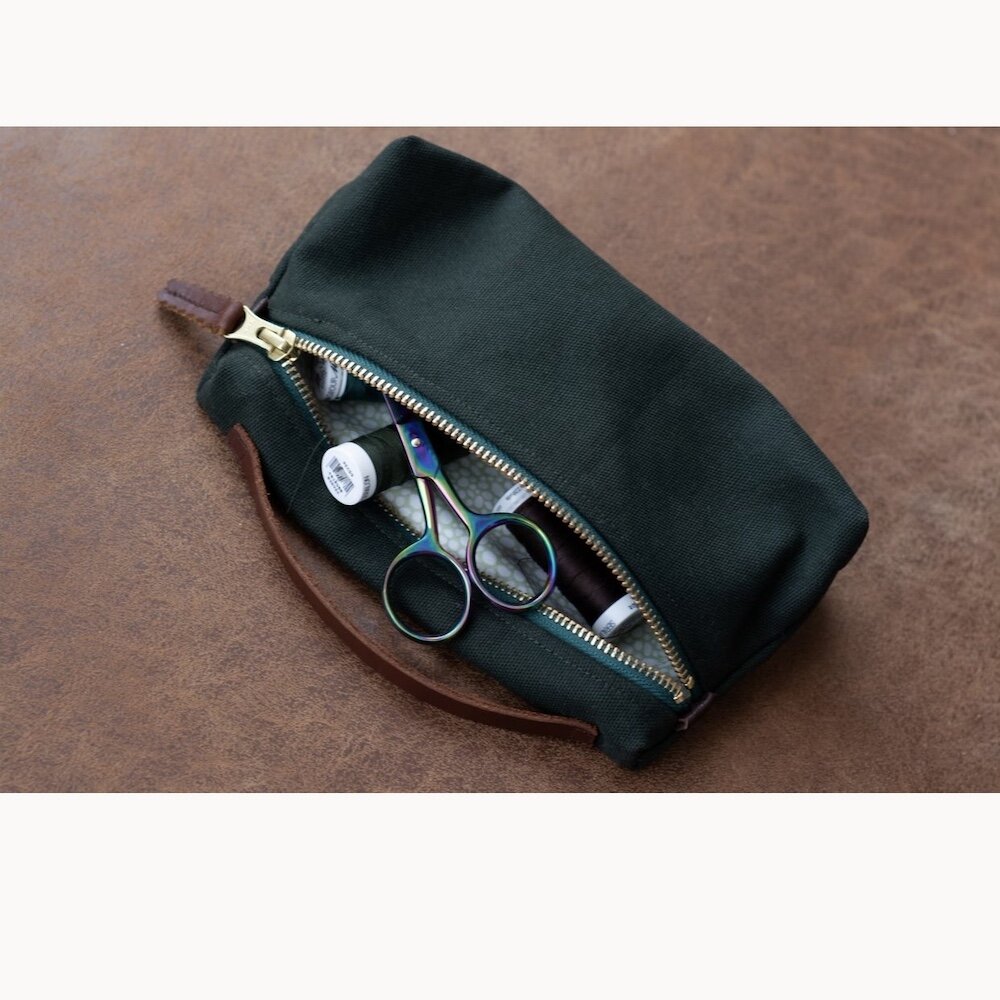
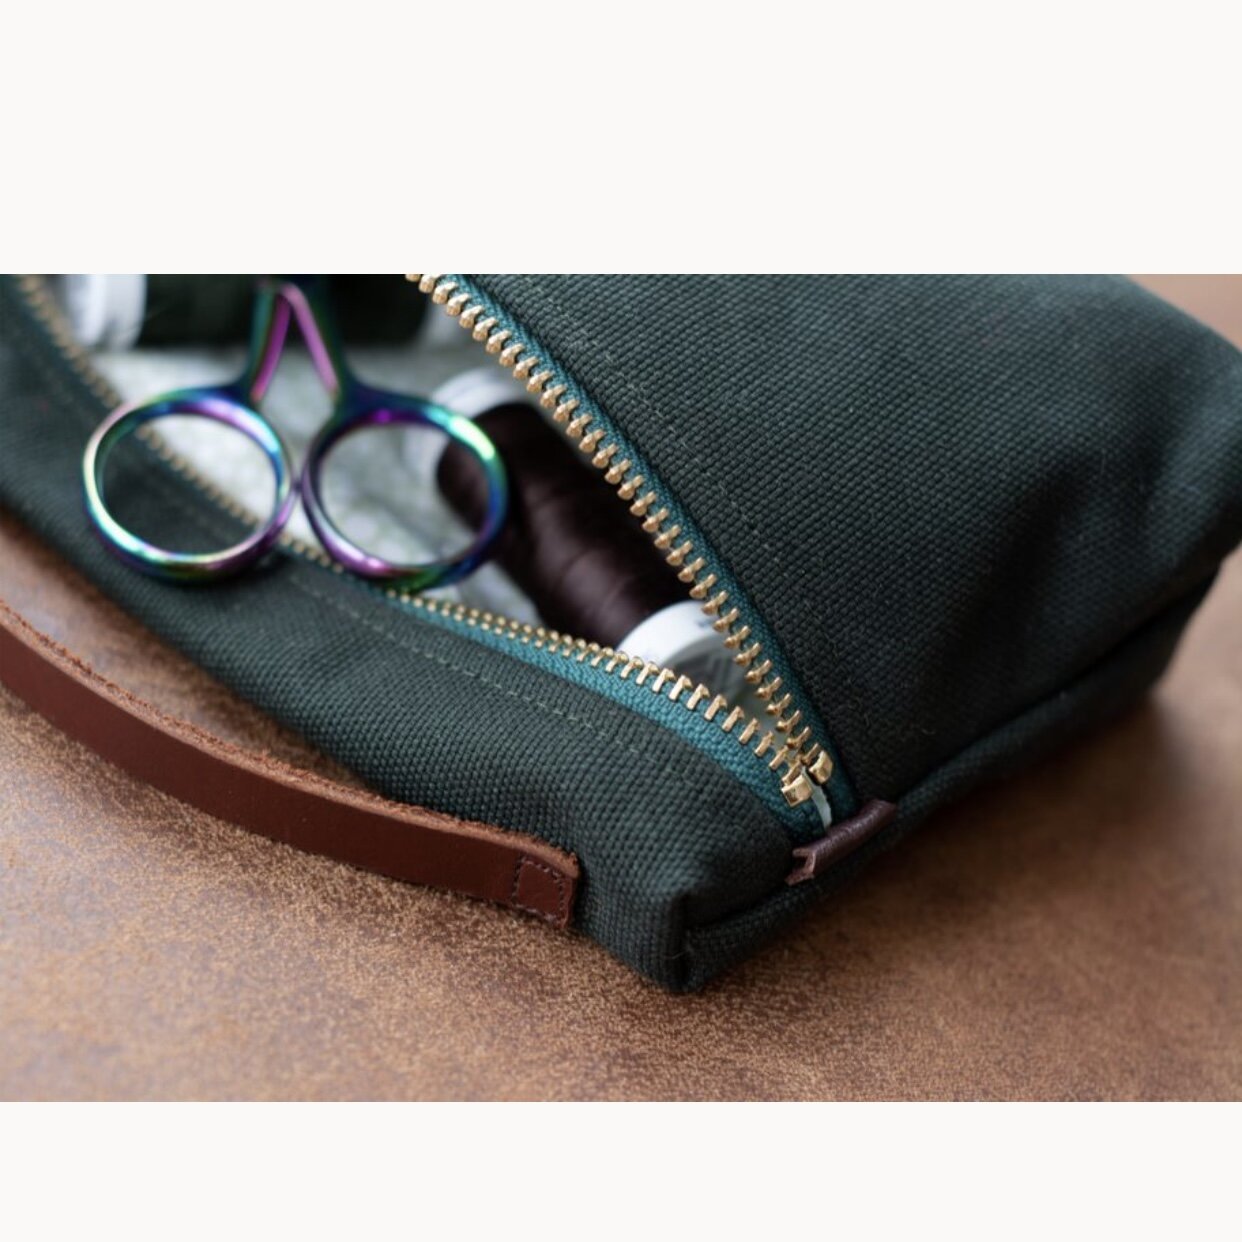
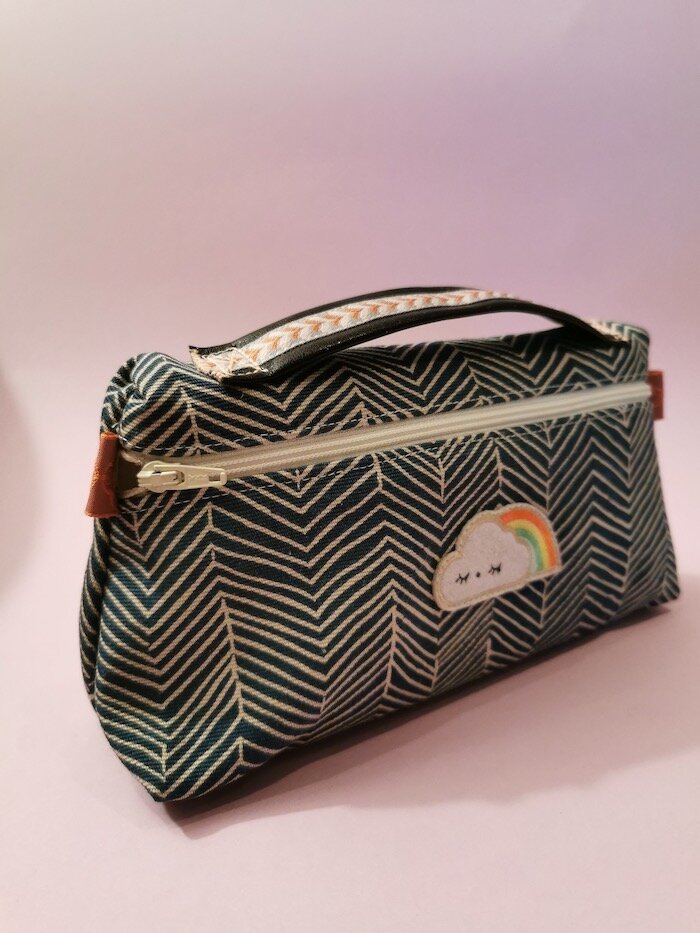
I’m excited to share the details about my latest pattern in this blog post—the Oslo Pouch! This one-piece wonder is super easy and quick to sew, making it perfect for all skill levels. Plus, it comes in four fantastic sizes: mini, small, medium, and big. Dive in and discover your next favorite project!
I feel incredibly grateful to have had a group of amazing pattern testers whose constructive feedback helped shape this design. I couldn't have done it without your support! I've worked hard to incorporate all your suggestions, and thanks to your input, the pattern and tutorial have been updated, two additional sizes have been added, and the pattern is now ready for release!
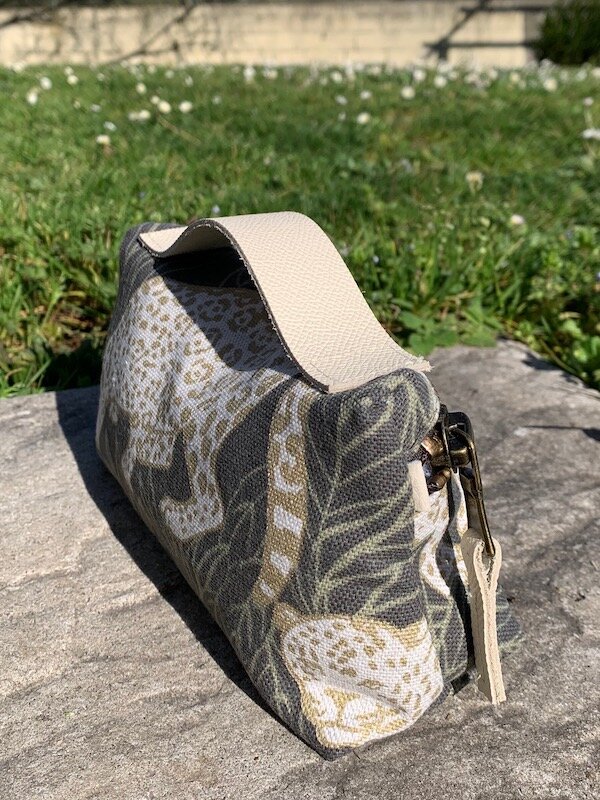
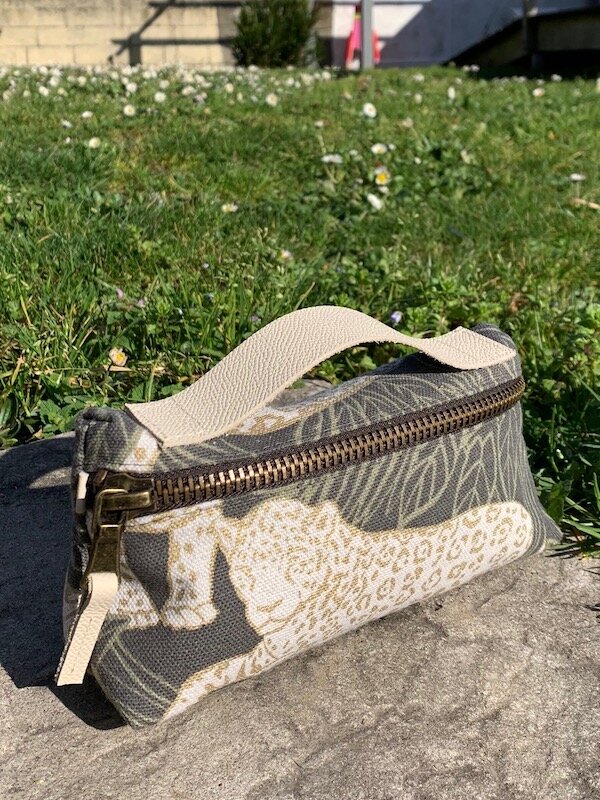
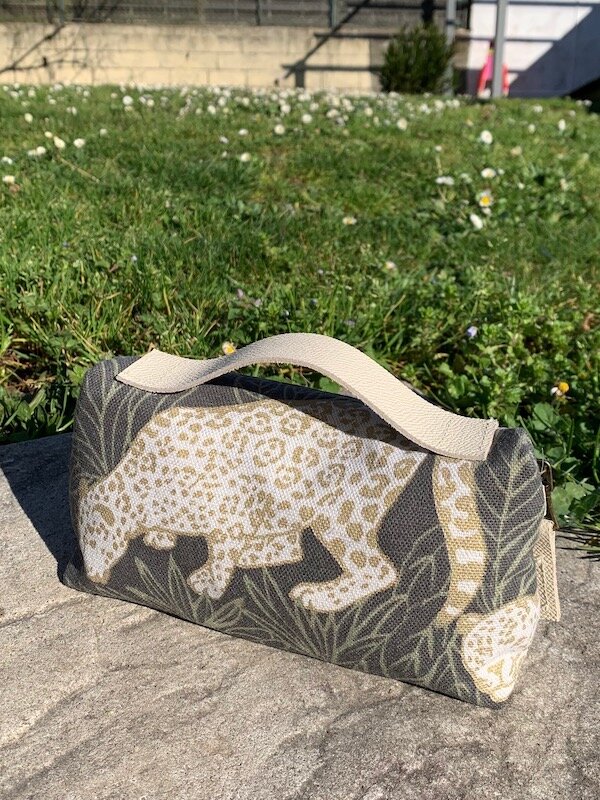
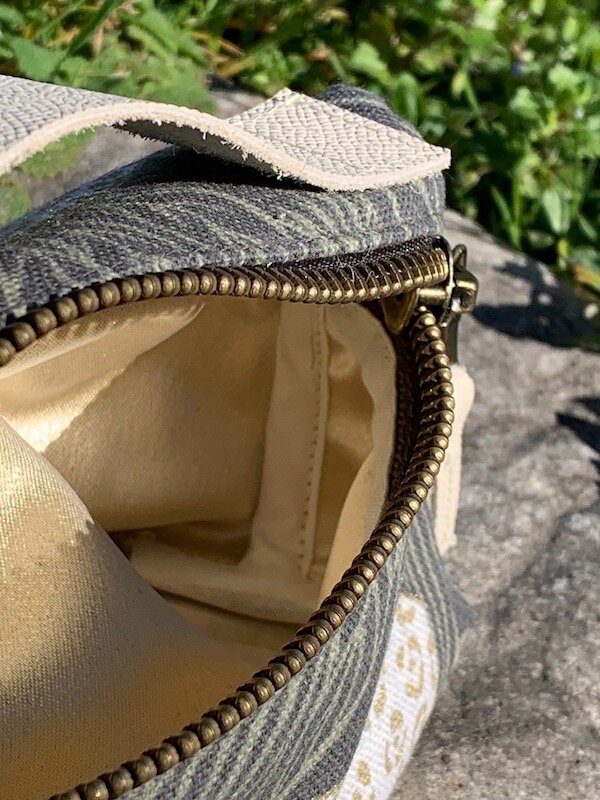
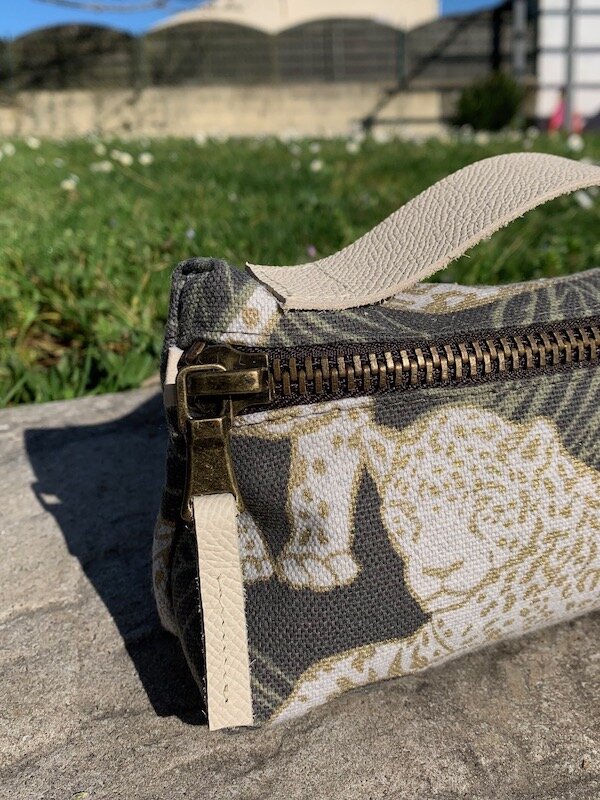
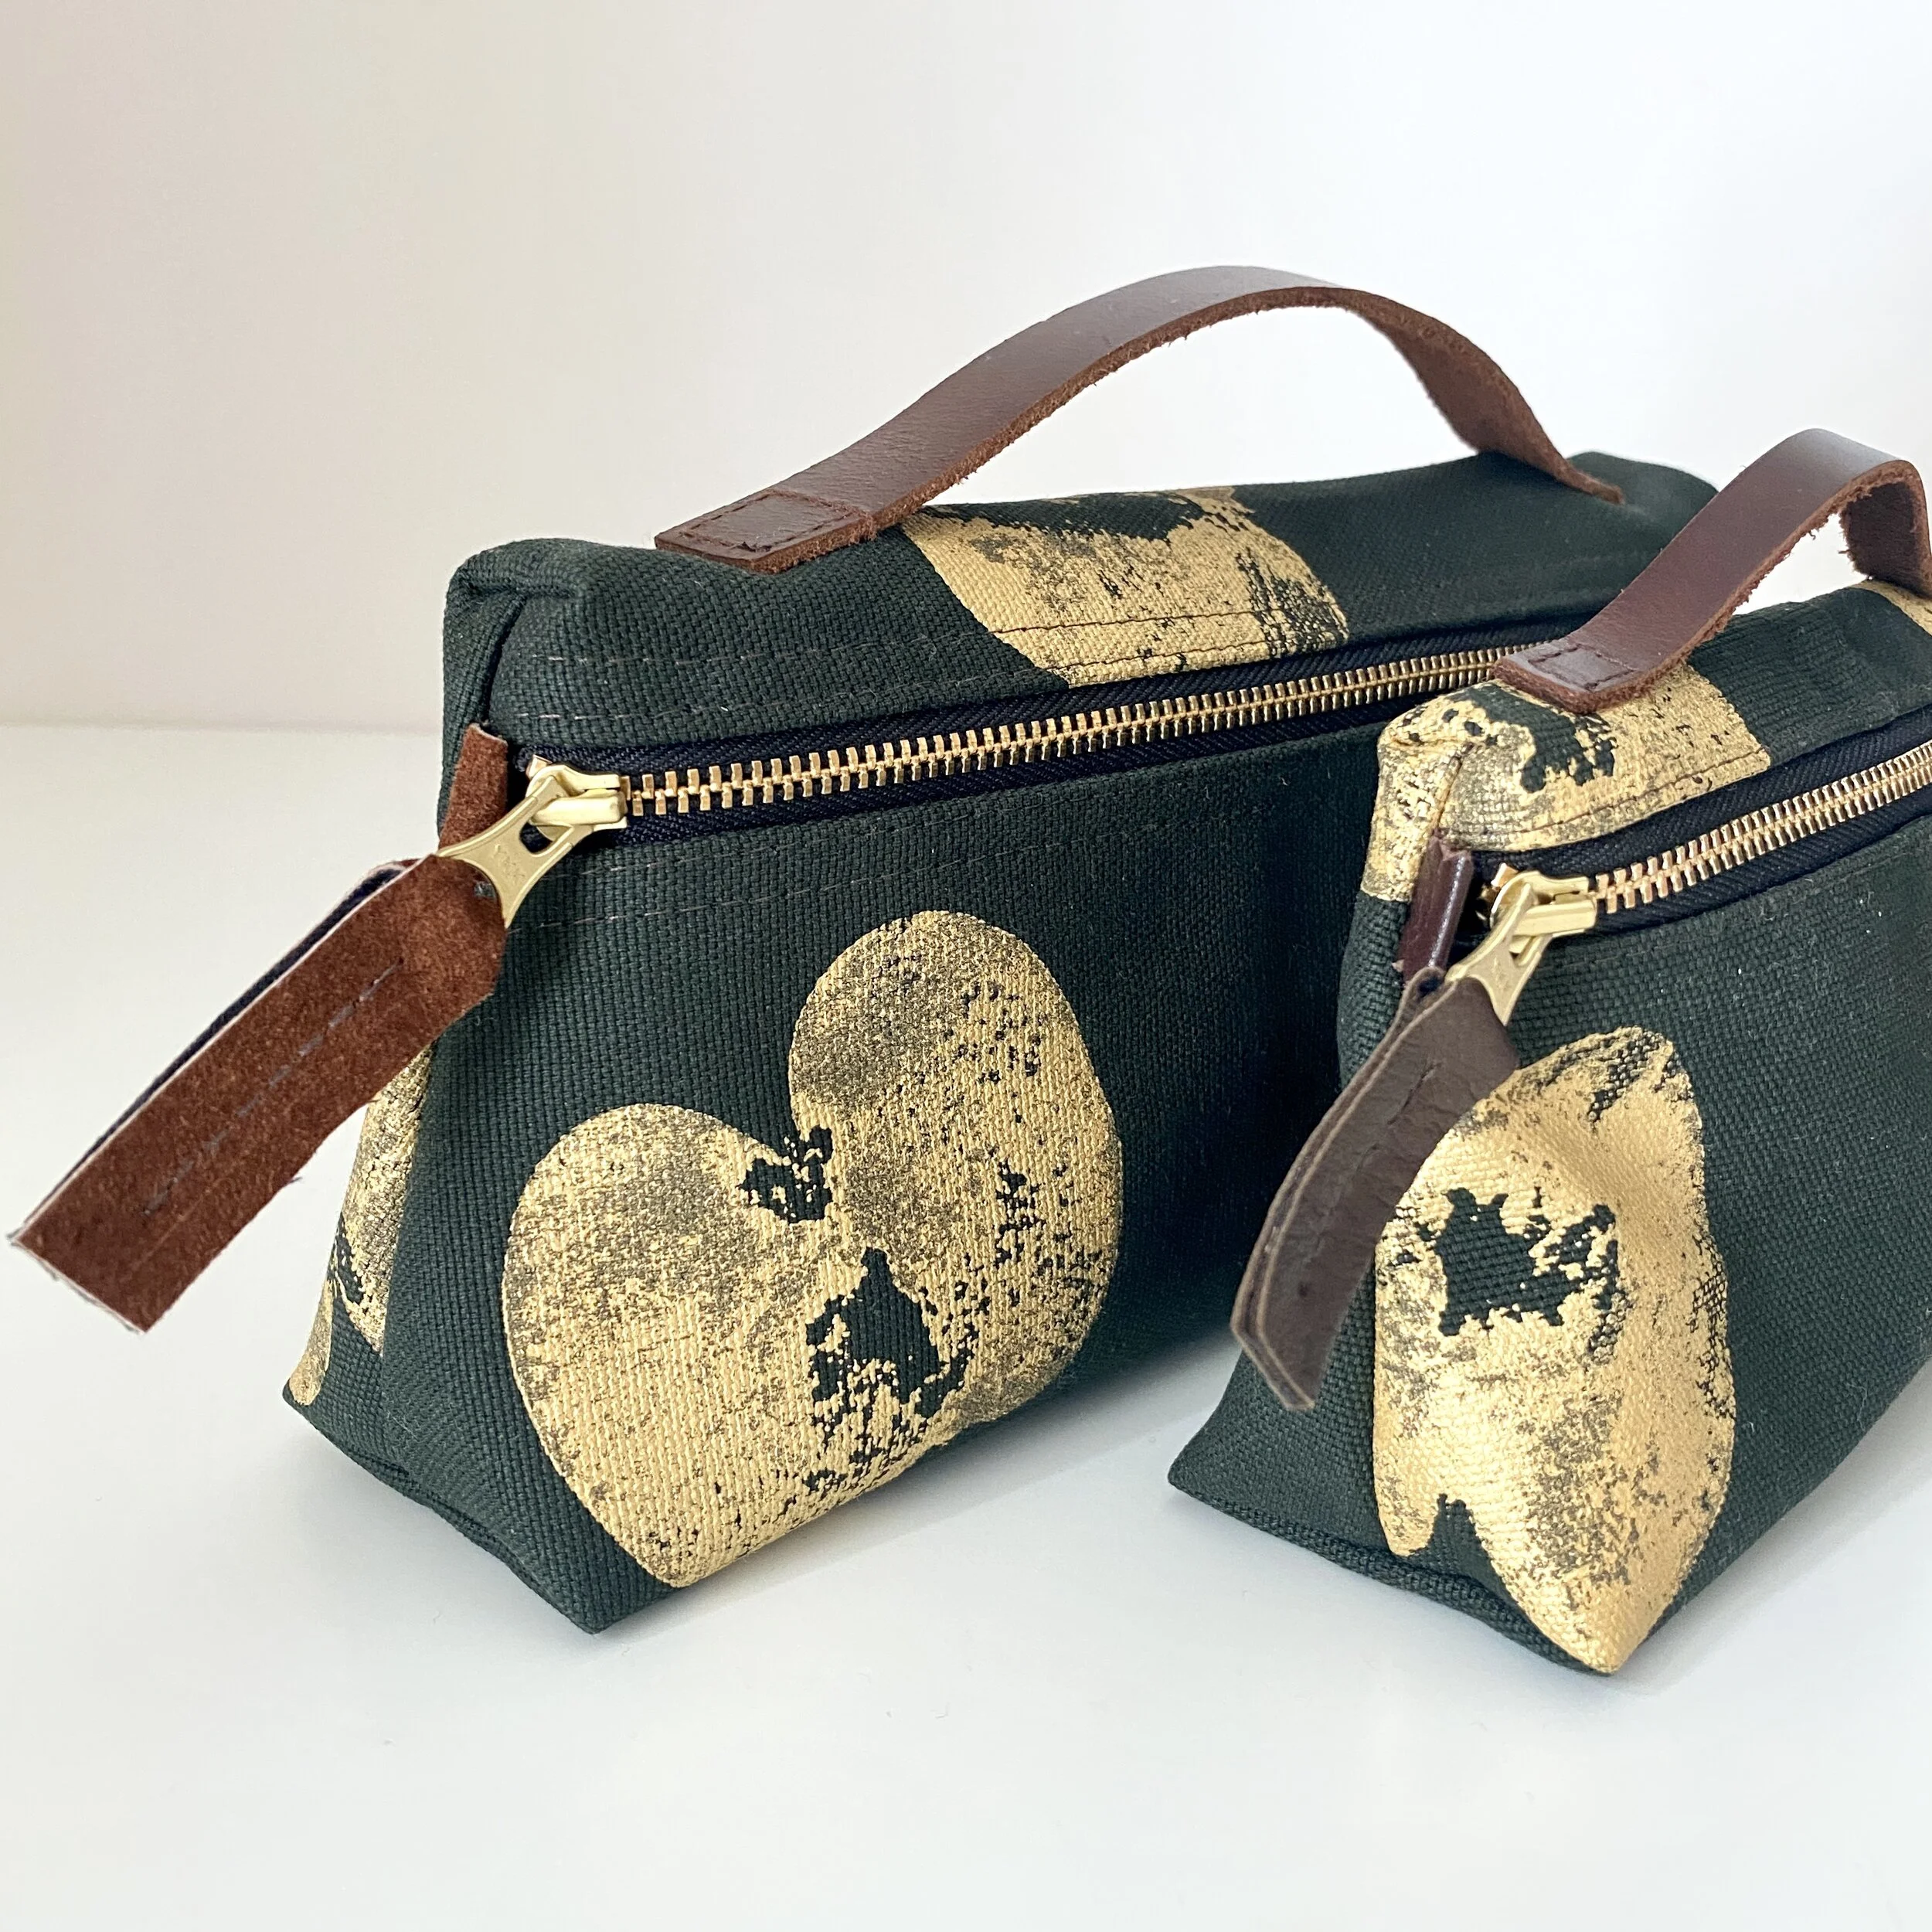
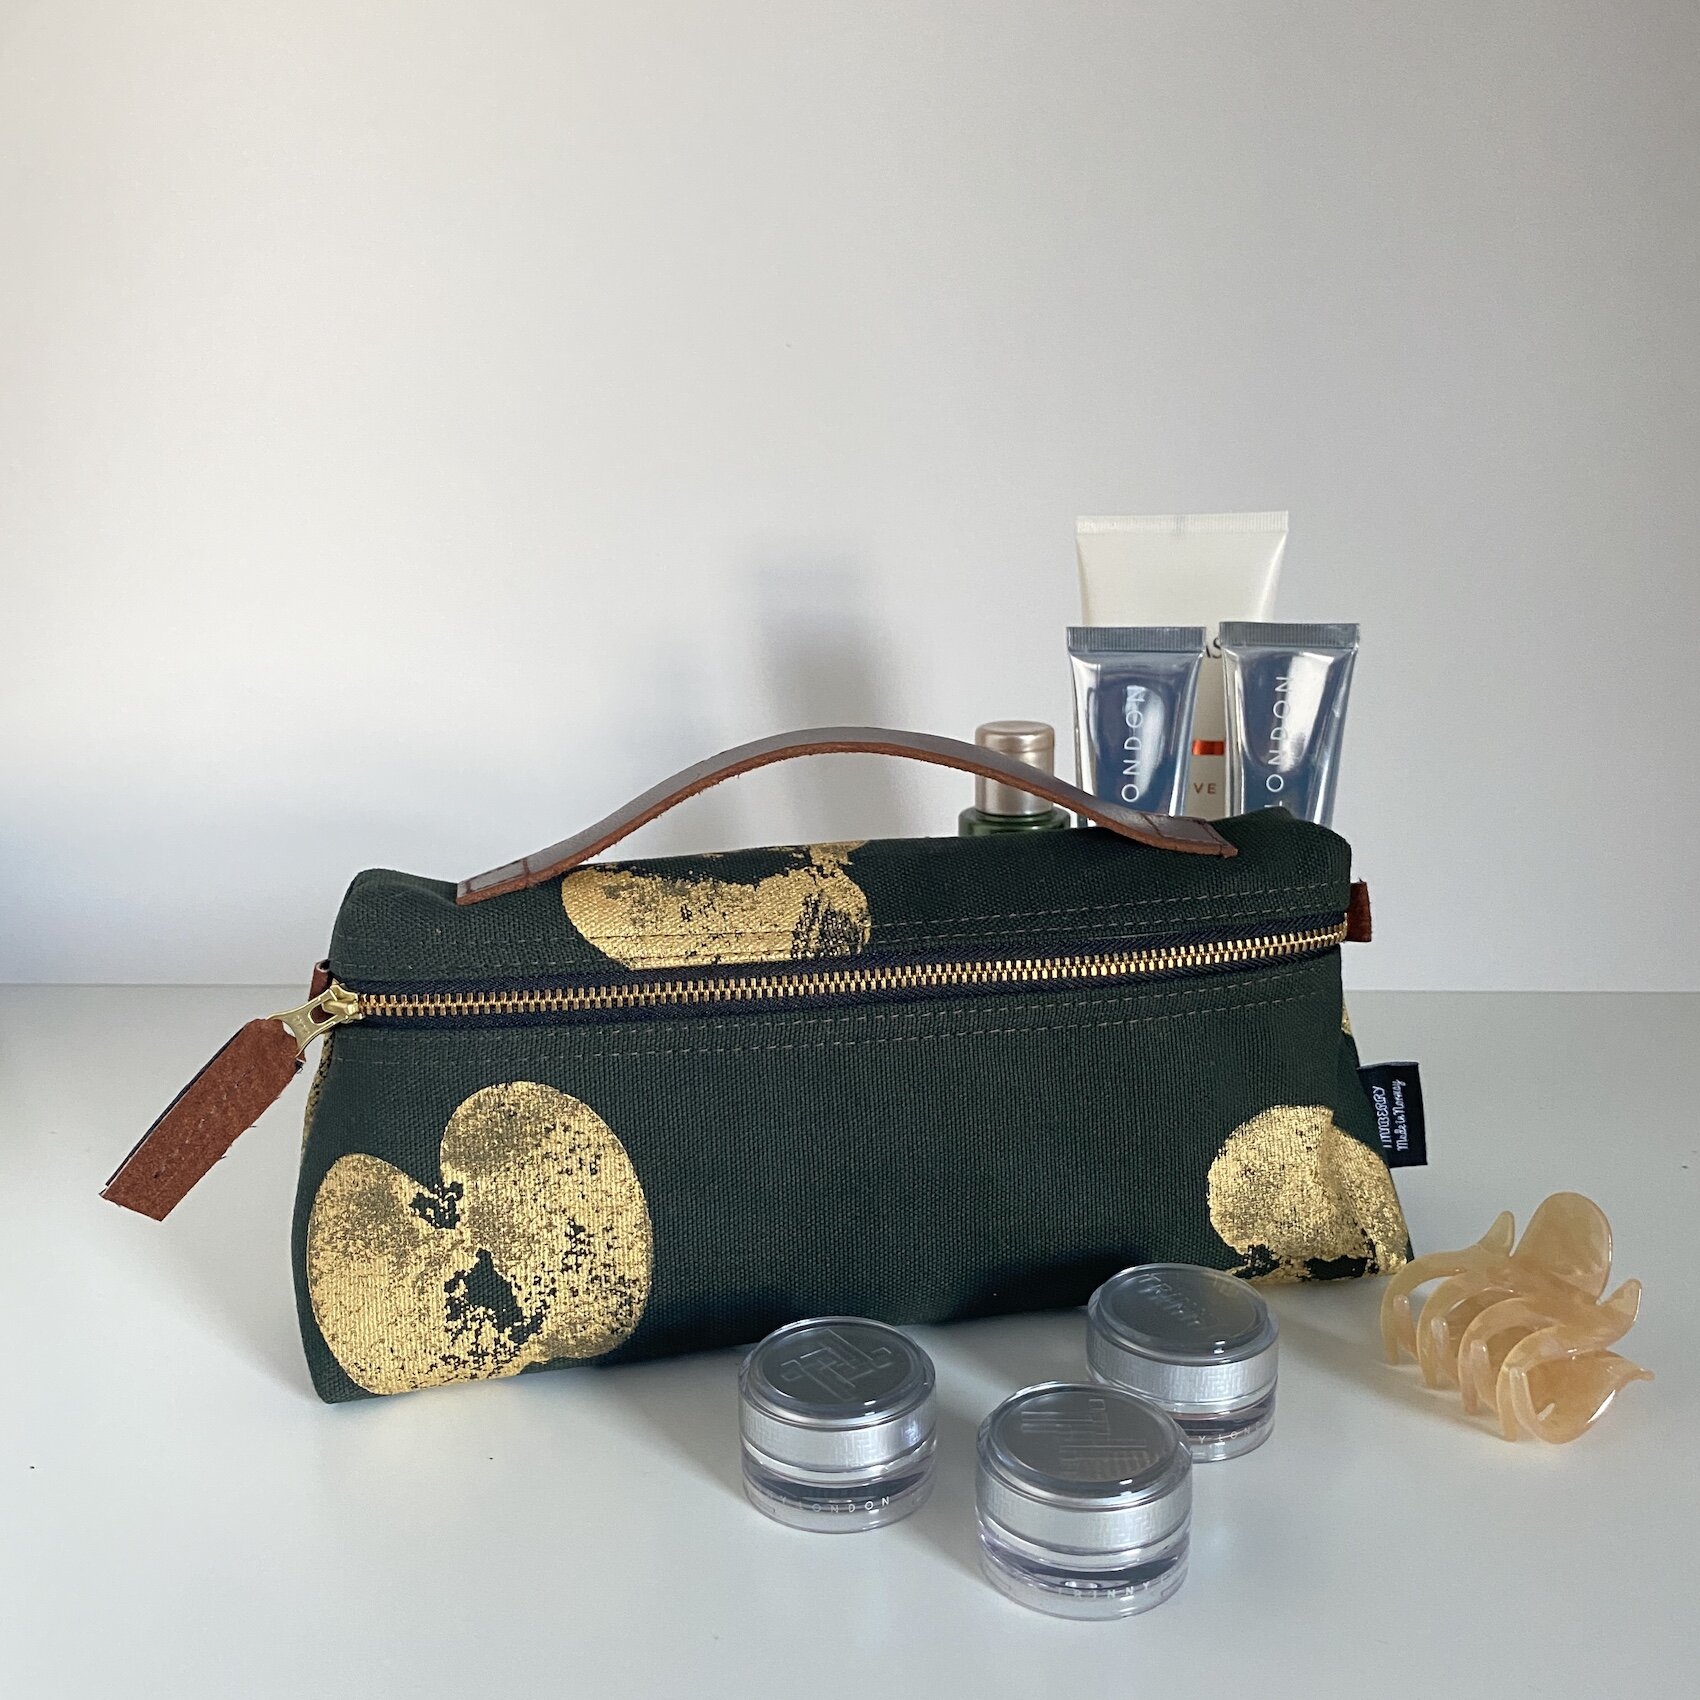
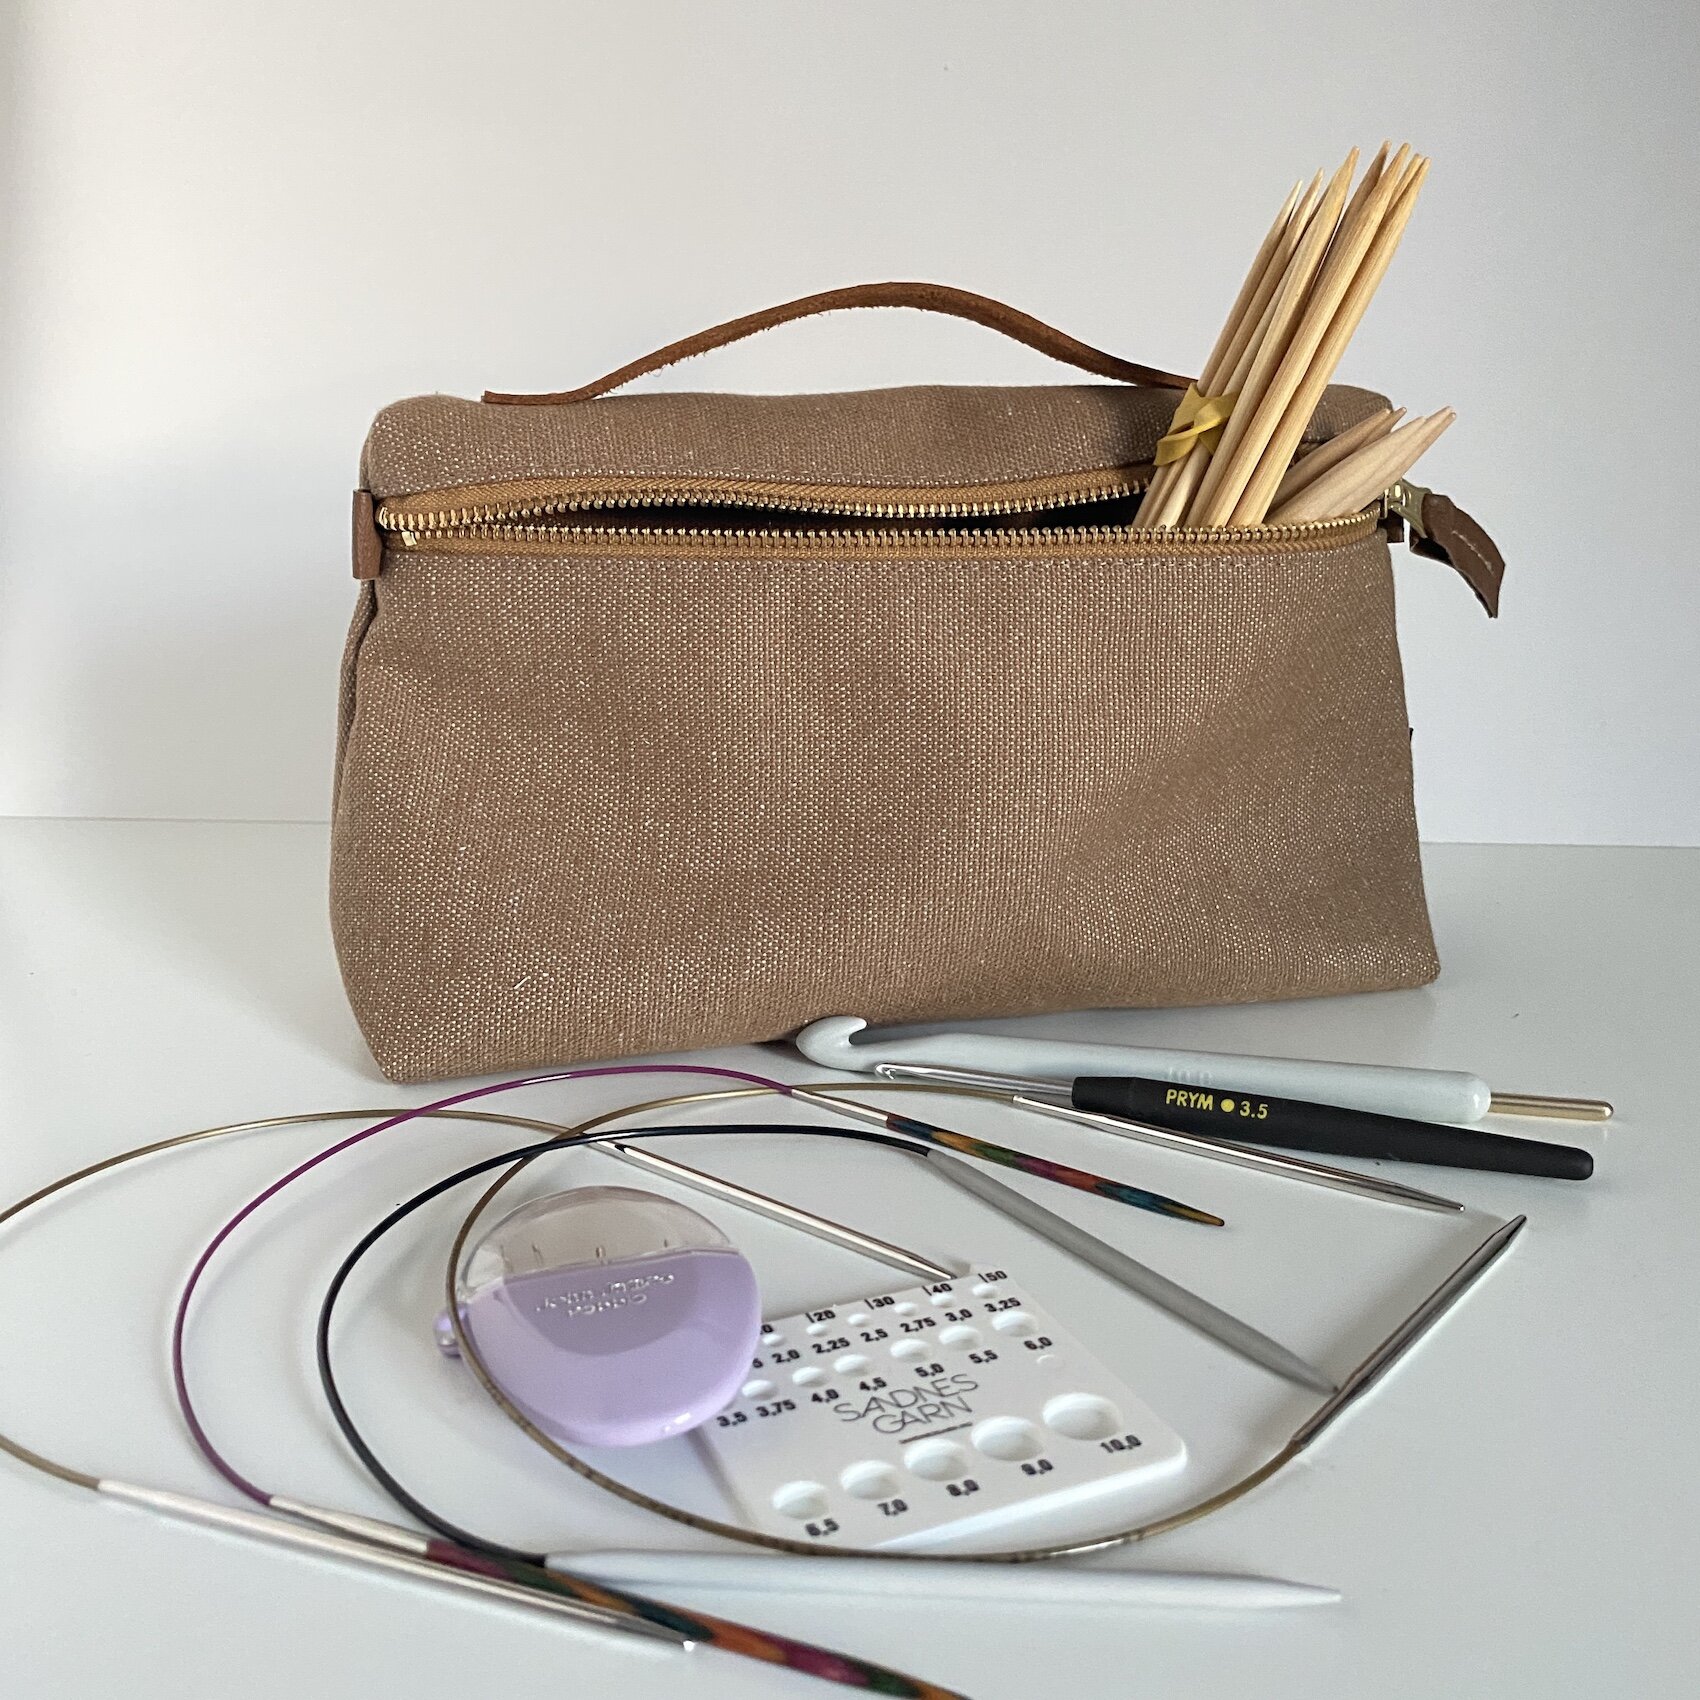
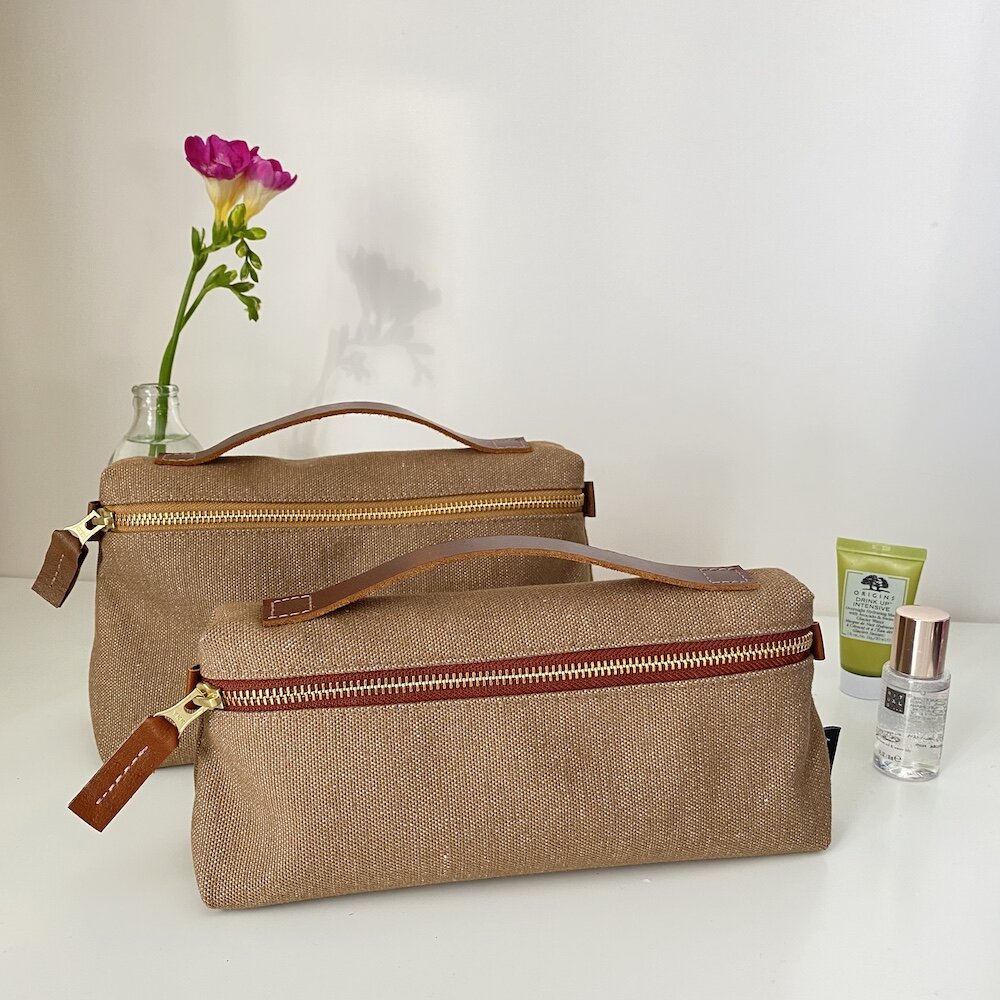
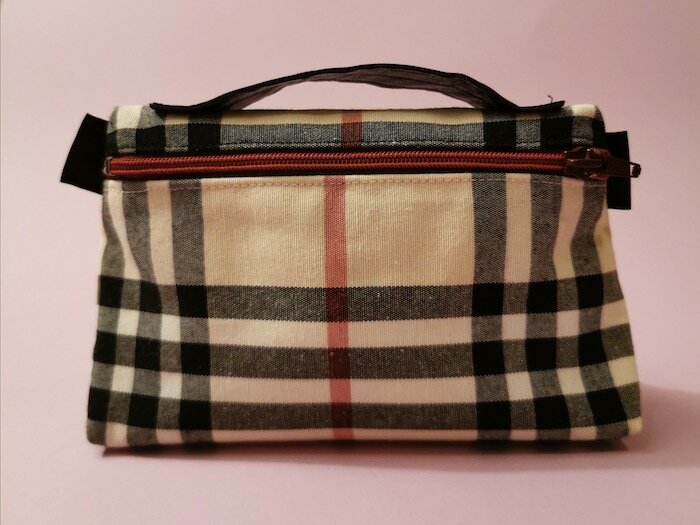
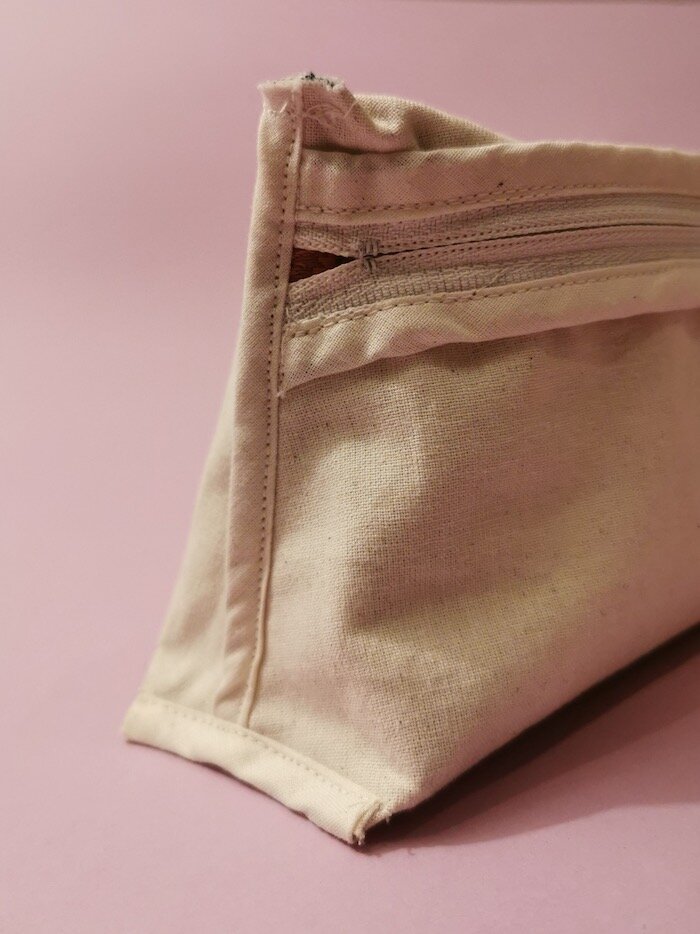
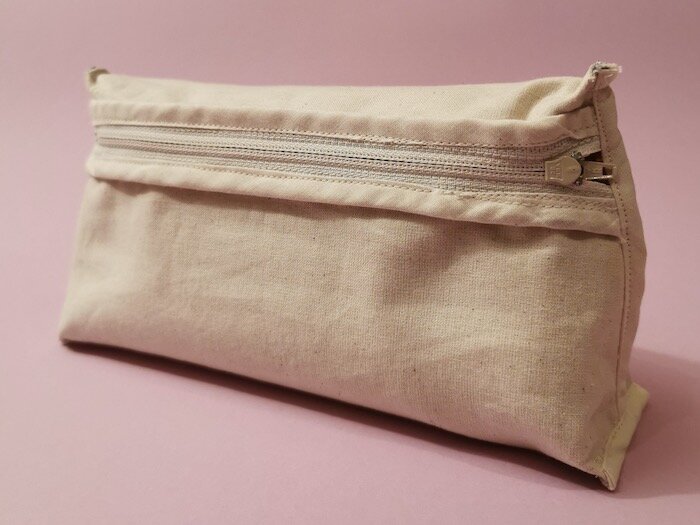
As a reminder, this is a one-piece pattern—meaning you'll only need to cut one piece from each material: canvas, cotton, and fusible interfacing. If you're using a very thick canvas, you can skip the interfacing and lining cotton entirely. Take a look at these examples of the Oslo Pouch made with just a single piece of thick canvas:
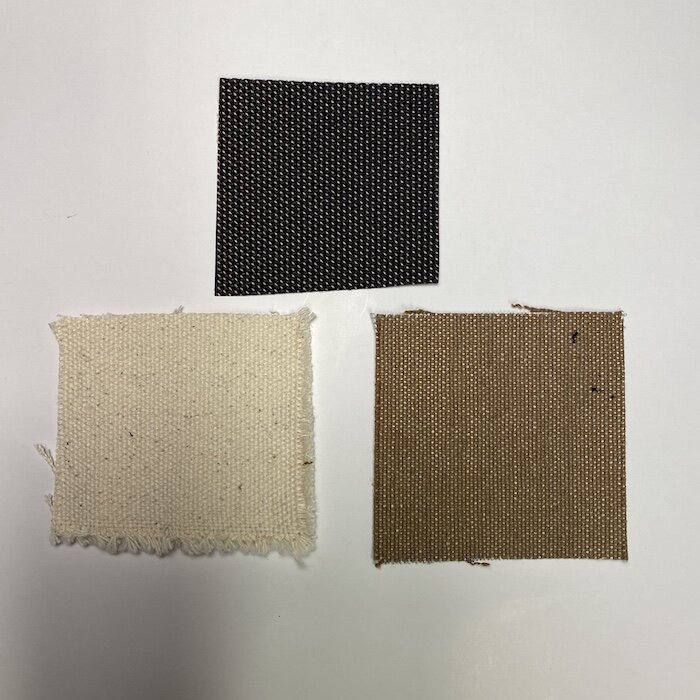
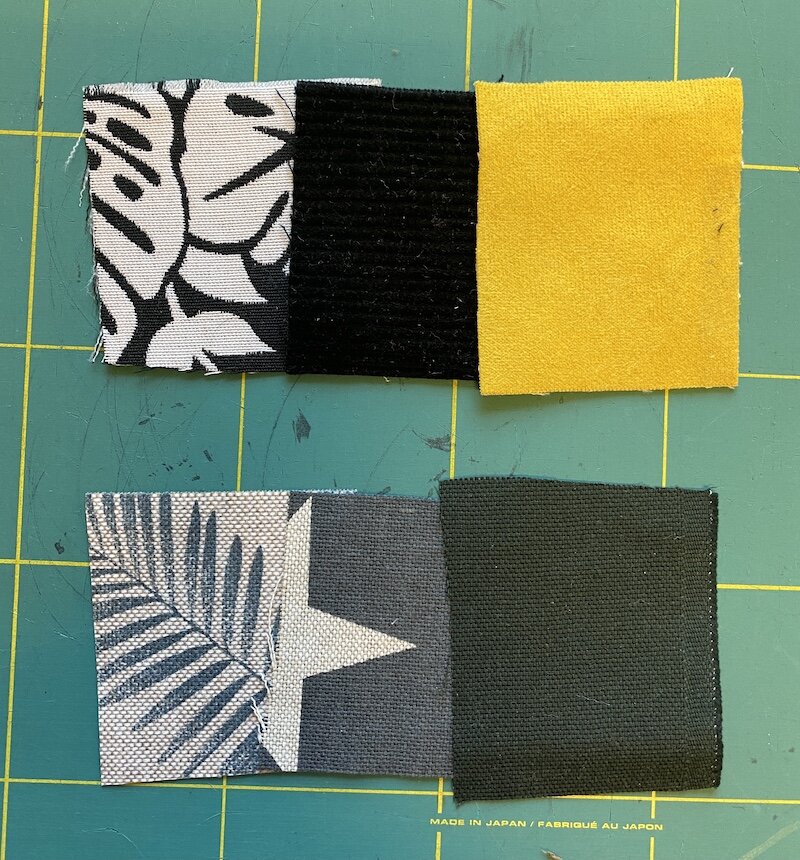
Here are some fabric options that work well for this project. You'll also need interfacing and lining materials.
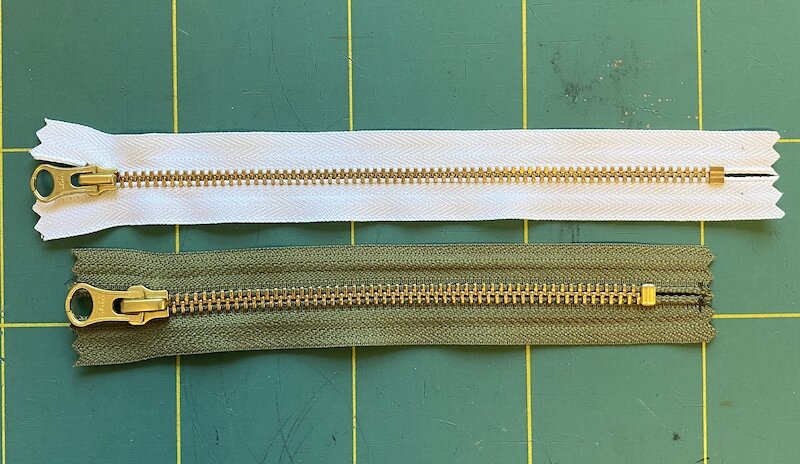
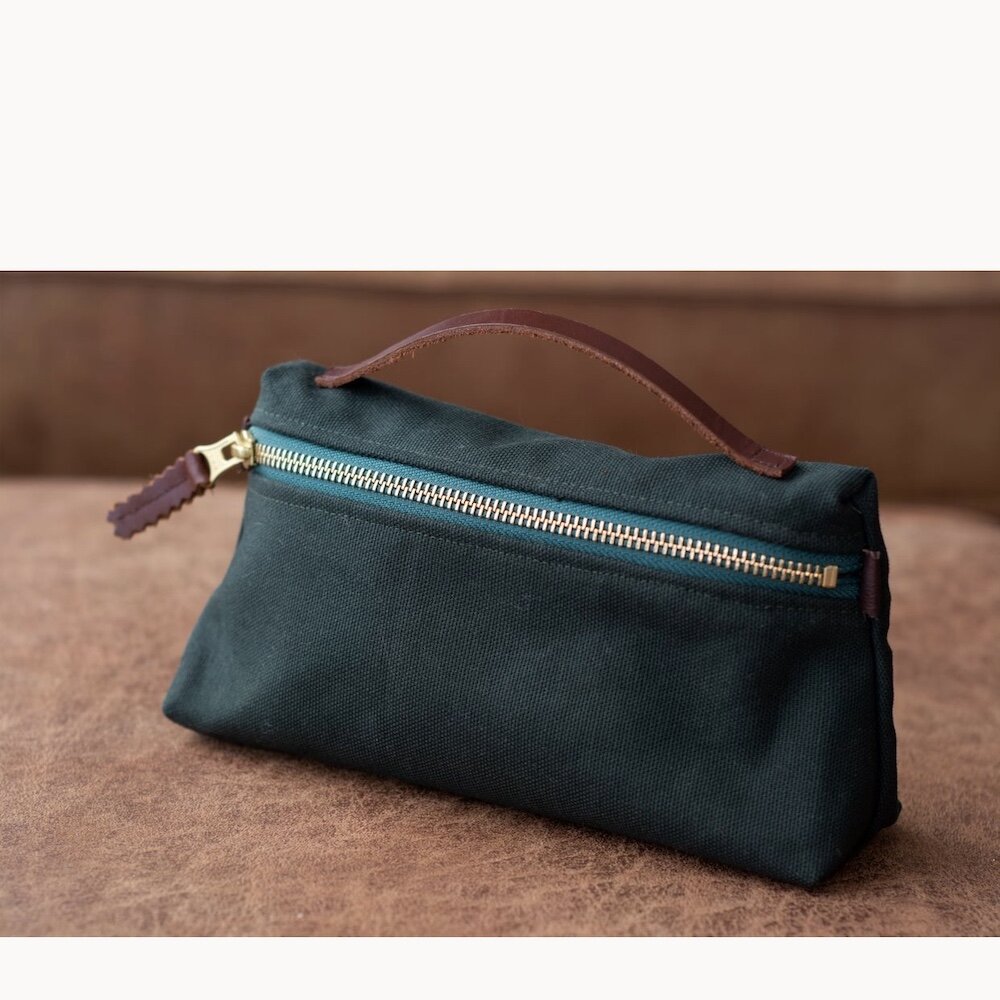
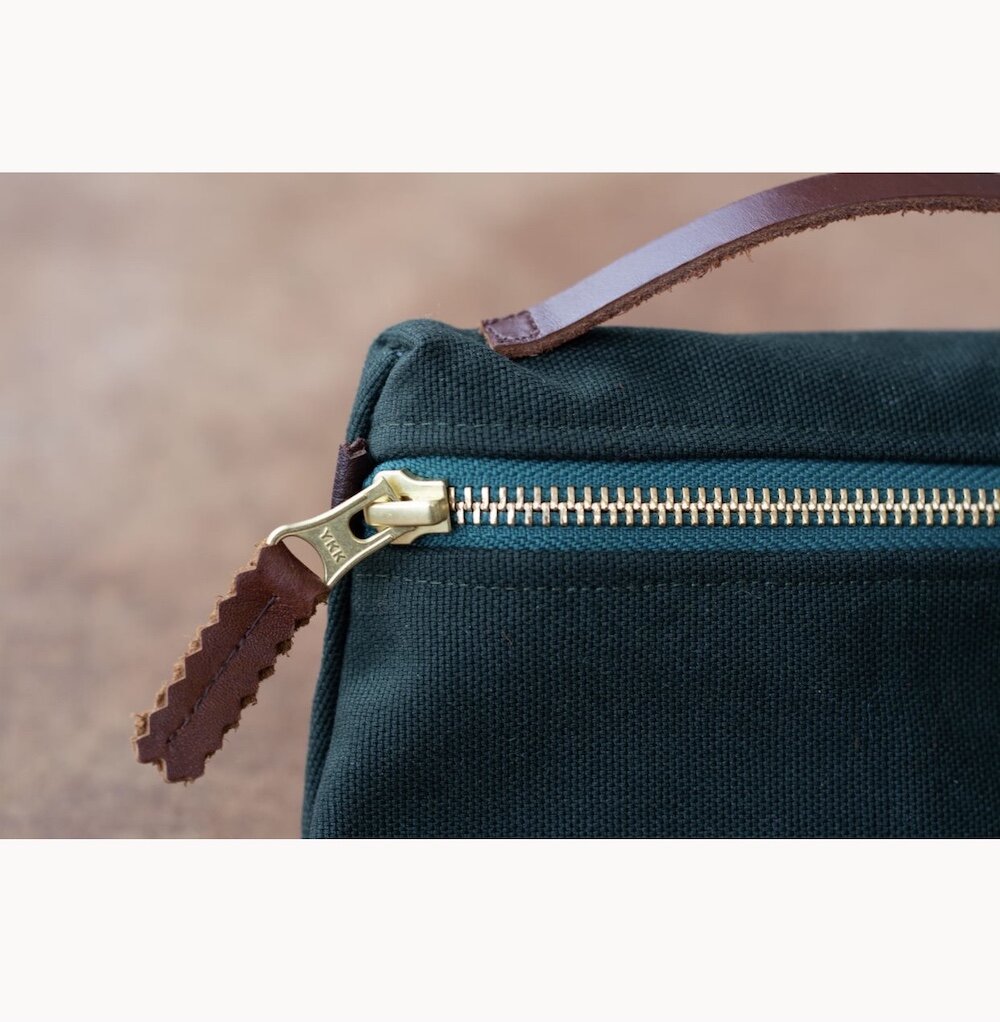
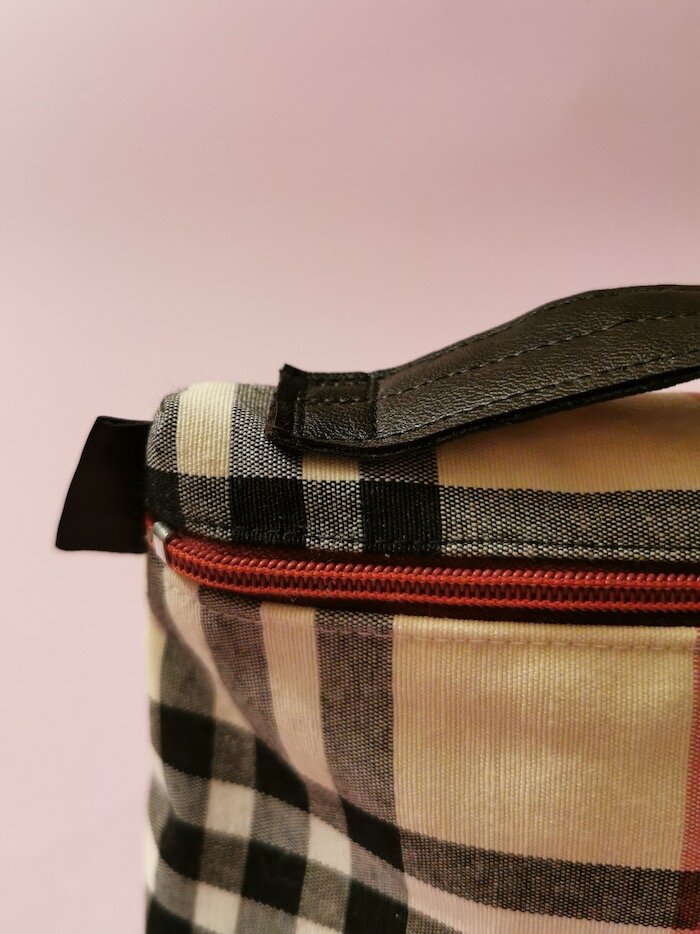
Let's talk zippers! I love using metal zippers—they add a professional touch and a bit of glittery shine to my creations. For my Oslo Pouches, I use zippers with a tape width of 16 mm or 18 mm. Both sizes work perfectly.
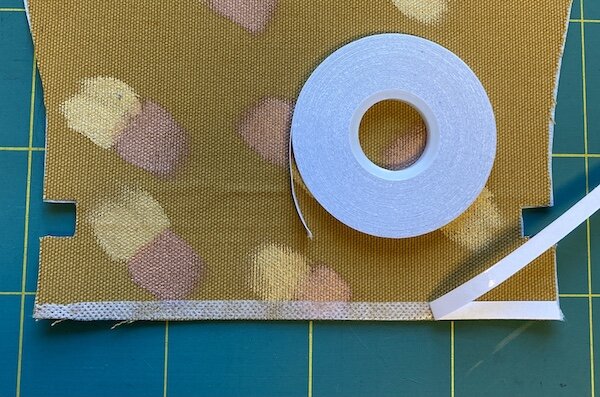
Let's chat about the magic of Wonder Tape and the Sewline fabric pencil! These tools are absolute game-changers, ensuring your fabric stays put and making your stitching look top-notch. I couldn't manage my zipper placements without them. Just make sure your Wonder Tape is sewing-friendly and high quality.
Check out the picture on the left: that's Wonder Tape from Stoffogstil—excellent quality. The Prym one is also fantastic. Now, look at the right side: this tape is a nightmare and sticks to your needle. No idea how it ended up on my sewing table, but it’s a no-go!

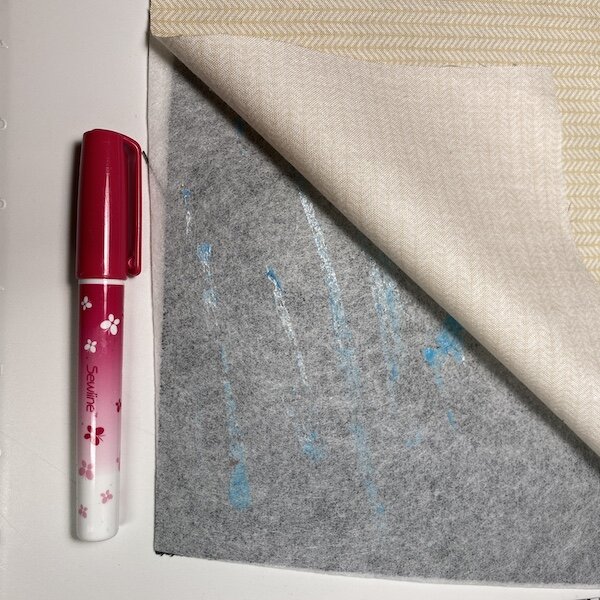
I will also suggest you to use Sewline fabric pencil. It is very useful with sewing a zipper or to apply between the two layers of fabric to prevent them from skifting.
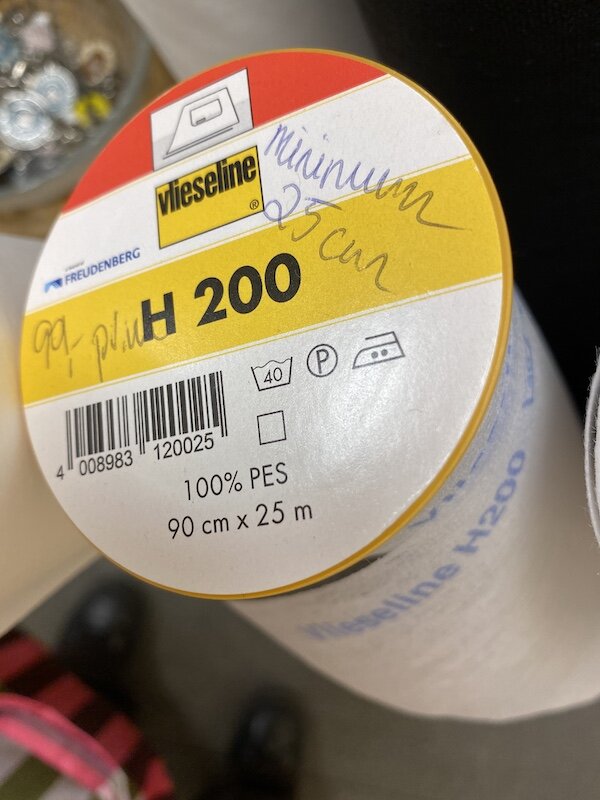
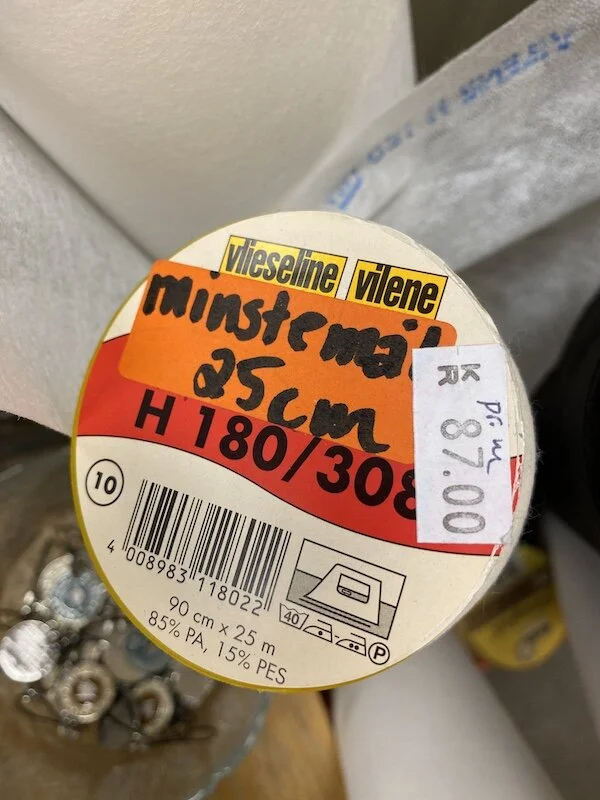
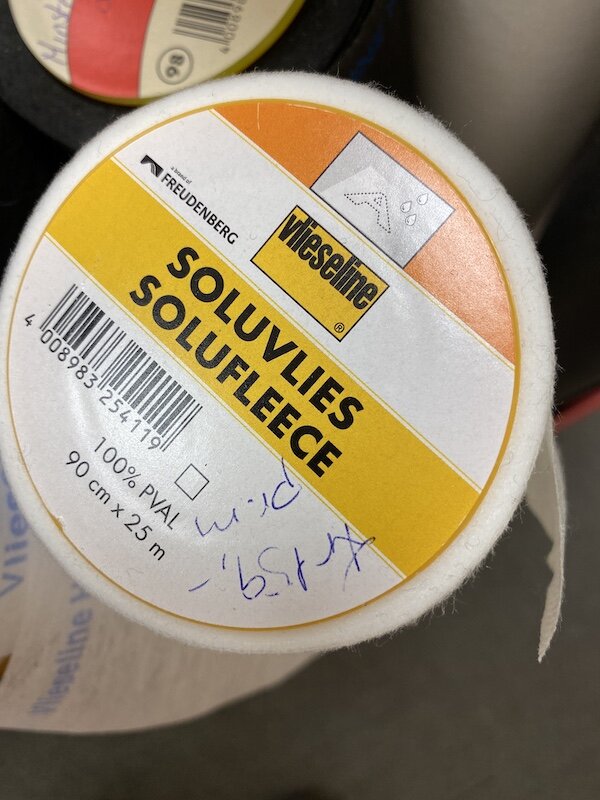
Fusible interfacing: for this project I used Medium weight fusible interfacing. Here are the ones I can suggest:
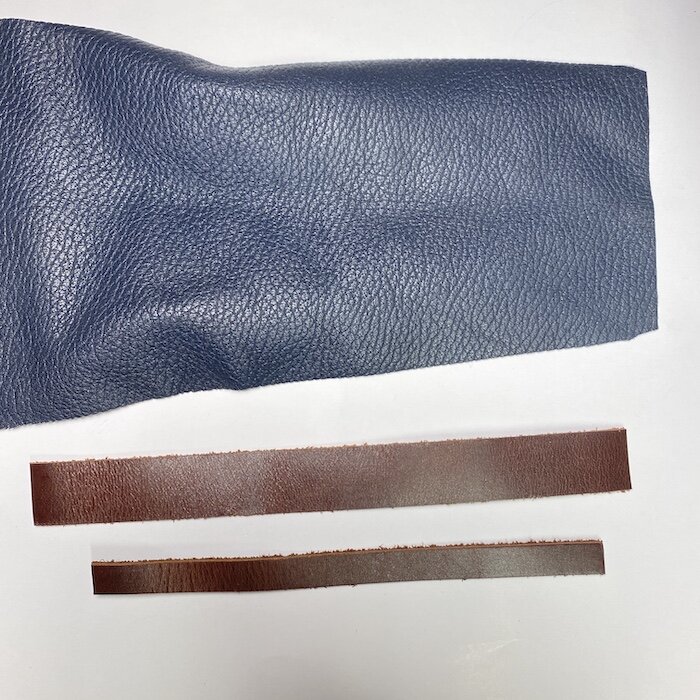
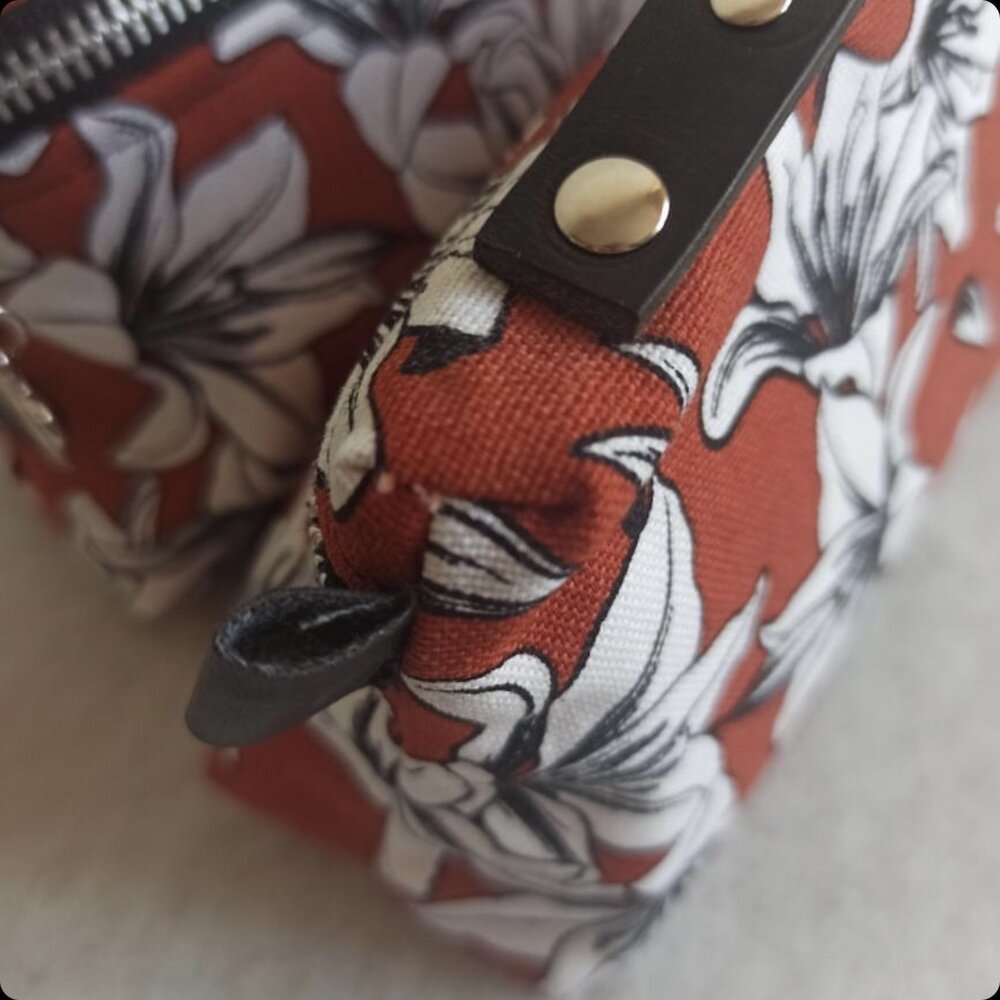
And the last material I wanted to share is leather. I either buy it on Etsy, a precut leather straps. Or I use the old leather jackets or bags from my or my mothers closet. I cut the desired piece, fuse some light or medium weight interfacing to it and cut it in 1/2” or 1” stripes.

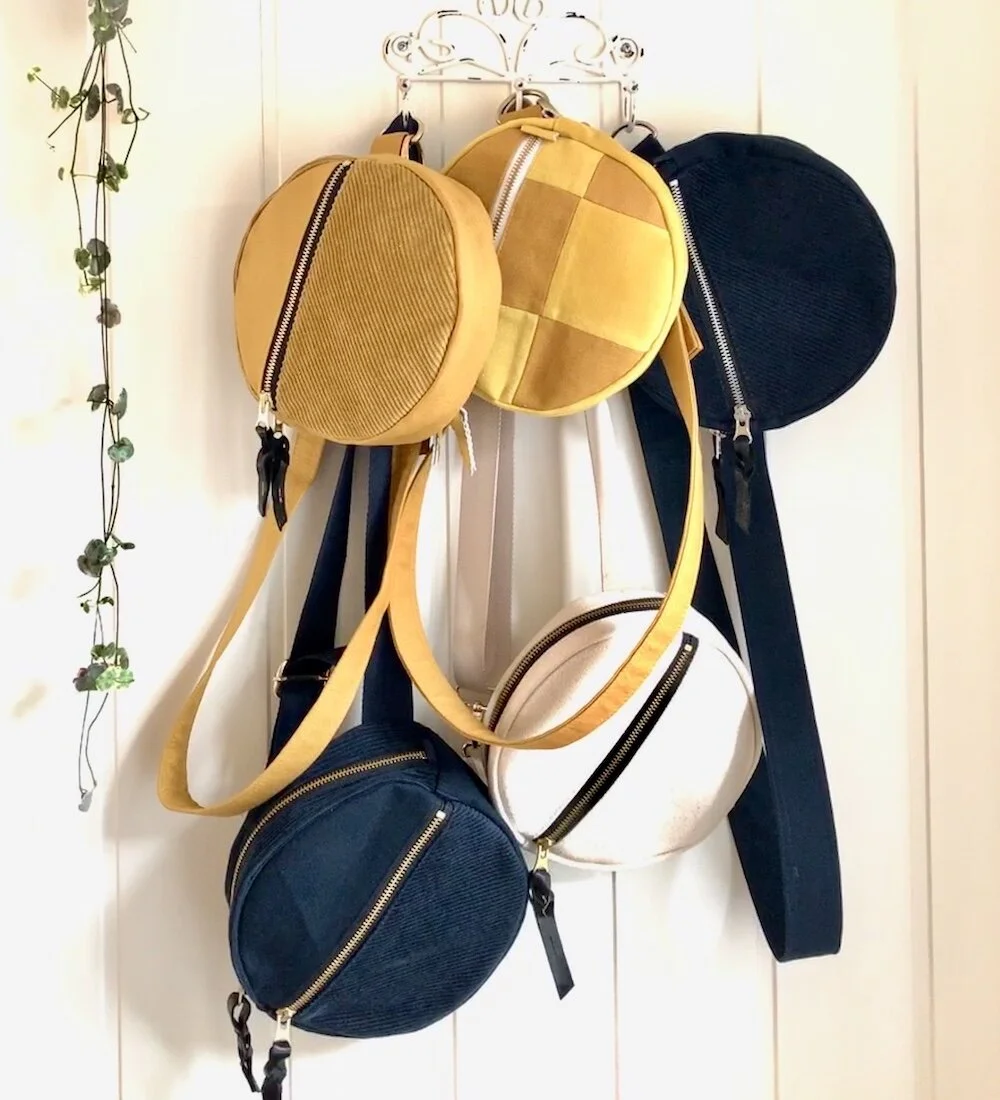
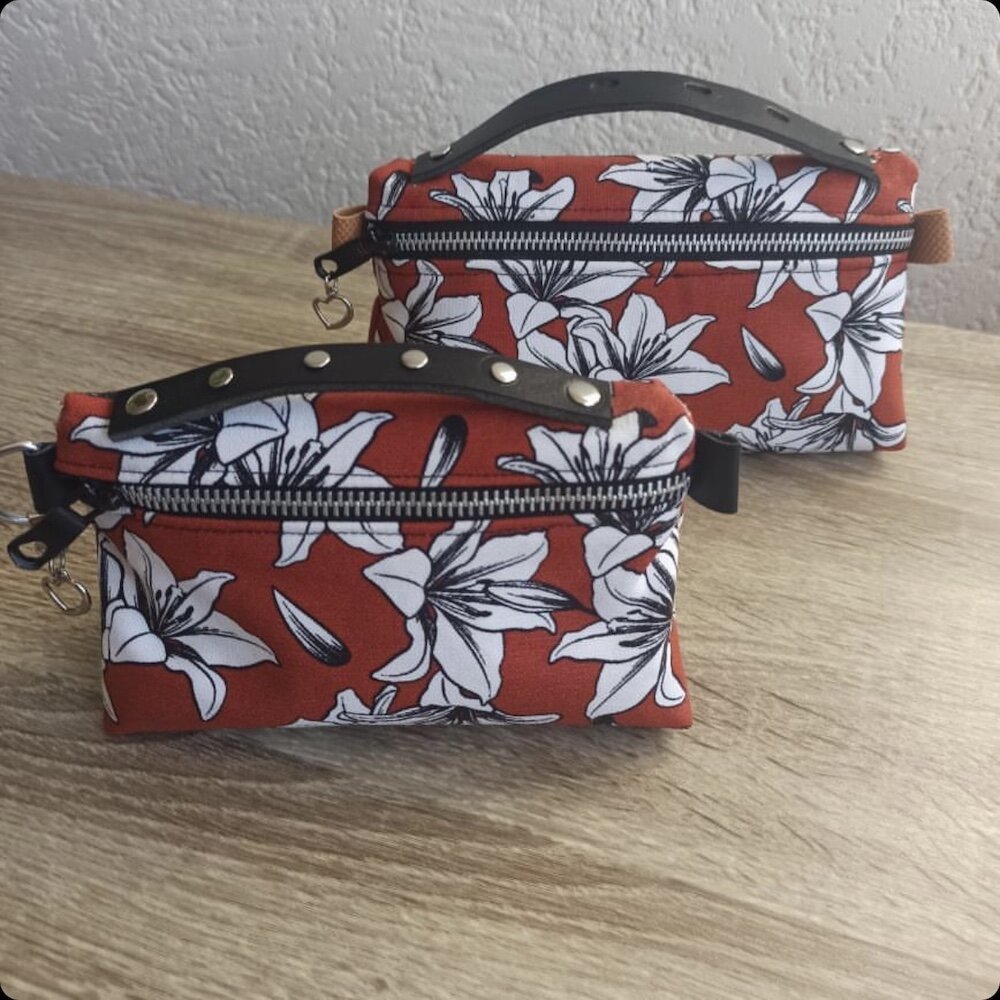
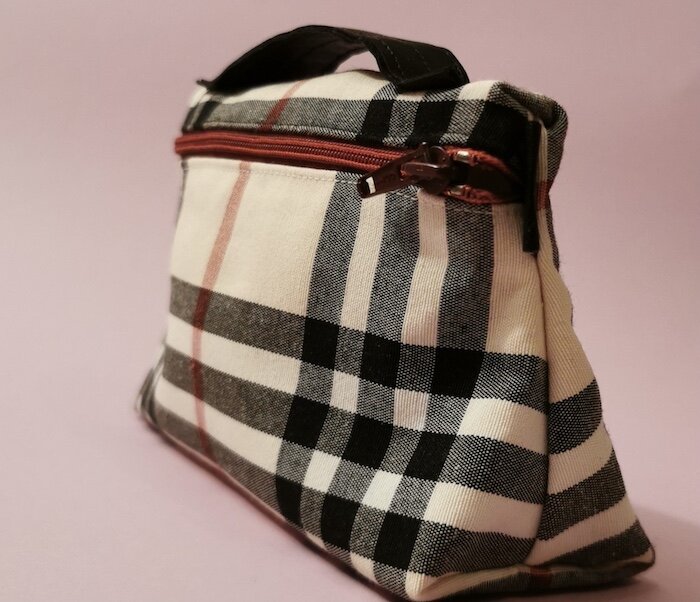
Check out these fabulous Oslo Pouches from my pattern testers!
First up, we have this beauty crafted by @mariefleurine, all the way from Northern Norway. She’s shared her sewing adventure with the Oslo Pouch—check out her story and see how she made it shine right here!: www.sewmariefleur.com
The next one is sewn by Filareti - @io.handmadeproject
This is an amazing job from Andrea @laget.av.andrea

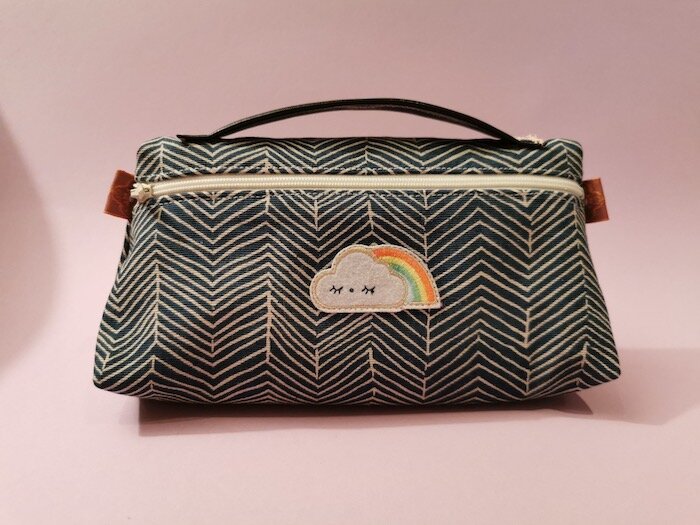
This one from directional fabric is from @juliette_et_giselle - julietteetgiselle.wordpress.com